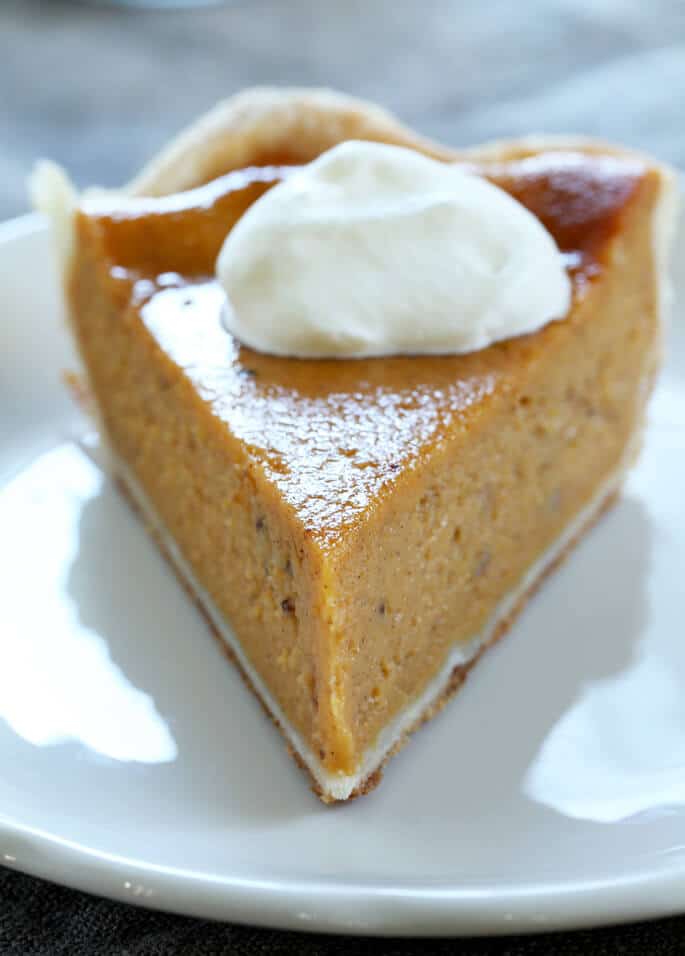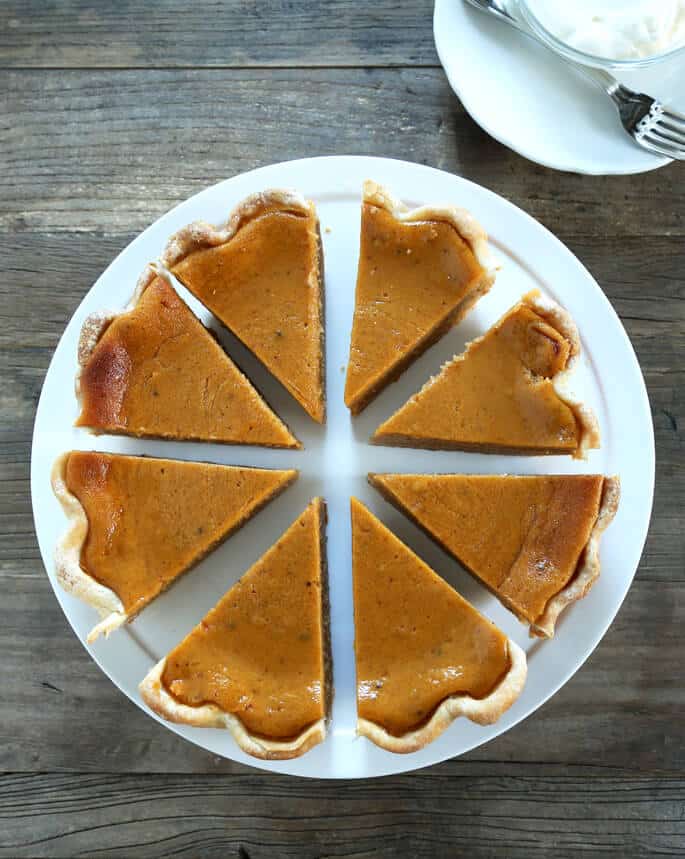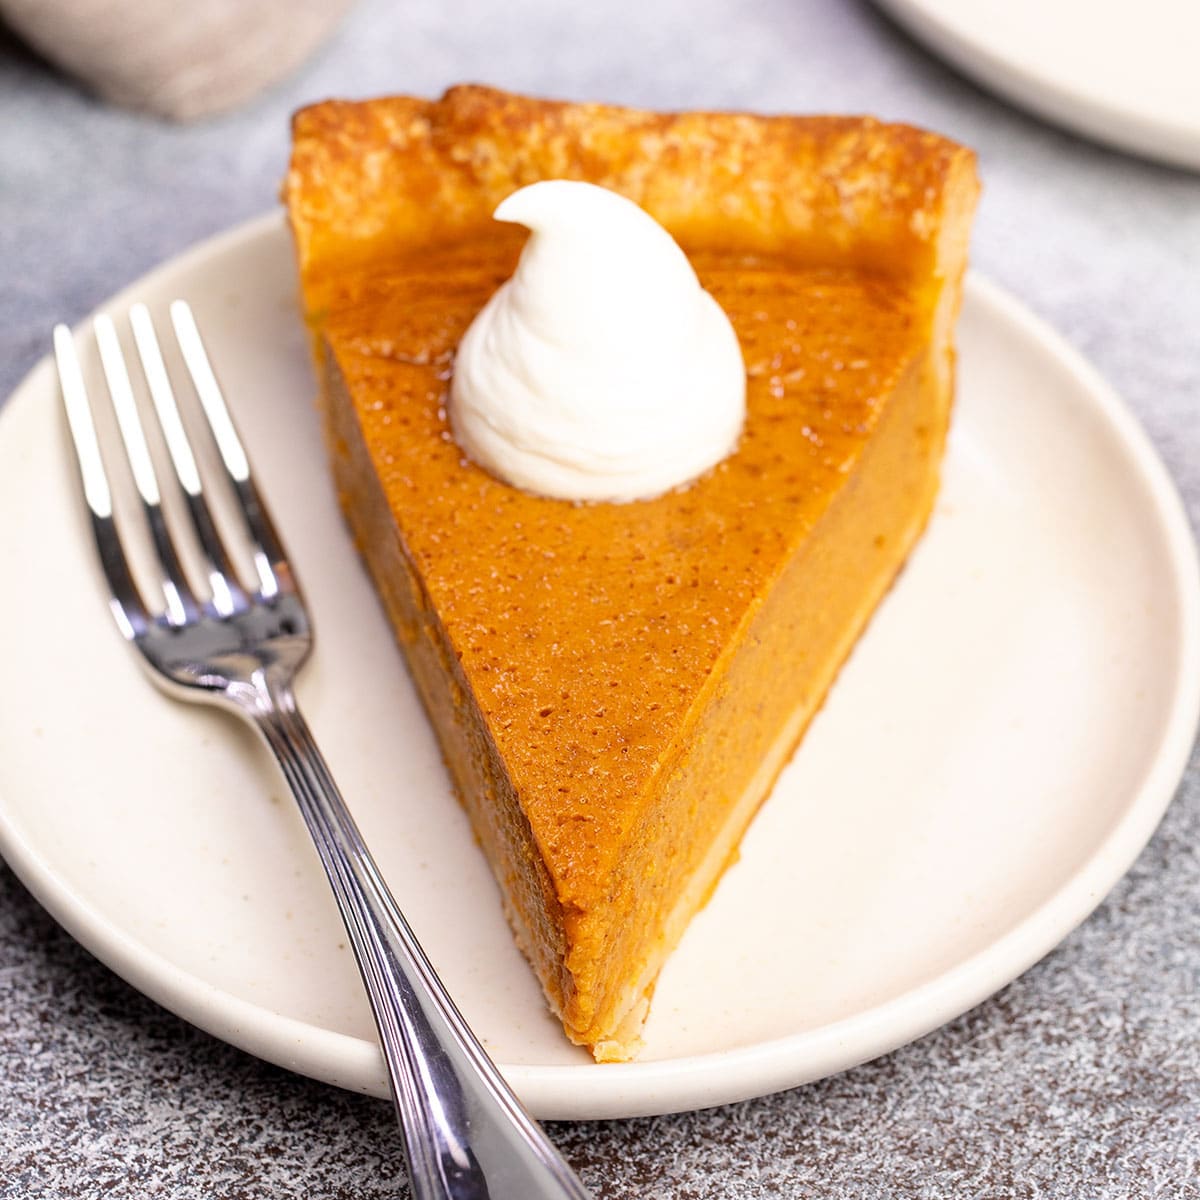
Bake this gluten free pumpkin pie for Thanksgiving,potlucks,or any time you’re craving that rich,warm,smooth flavor of pumpkin.
Jump to Recipe

Smooth,creamy and rich,this classic recipe for gluten free pumpkin pie is the very best way to dress up your holiday table. Make it with a pumpkin filling,or even as a sweet potato pie. The choice is yours!
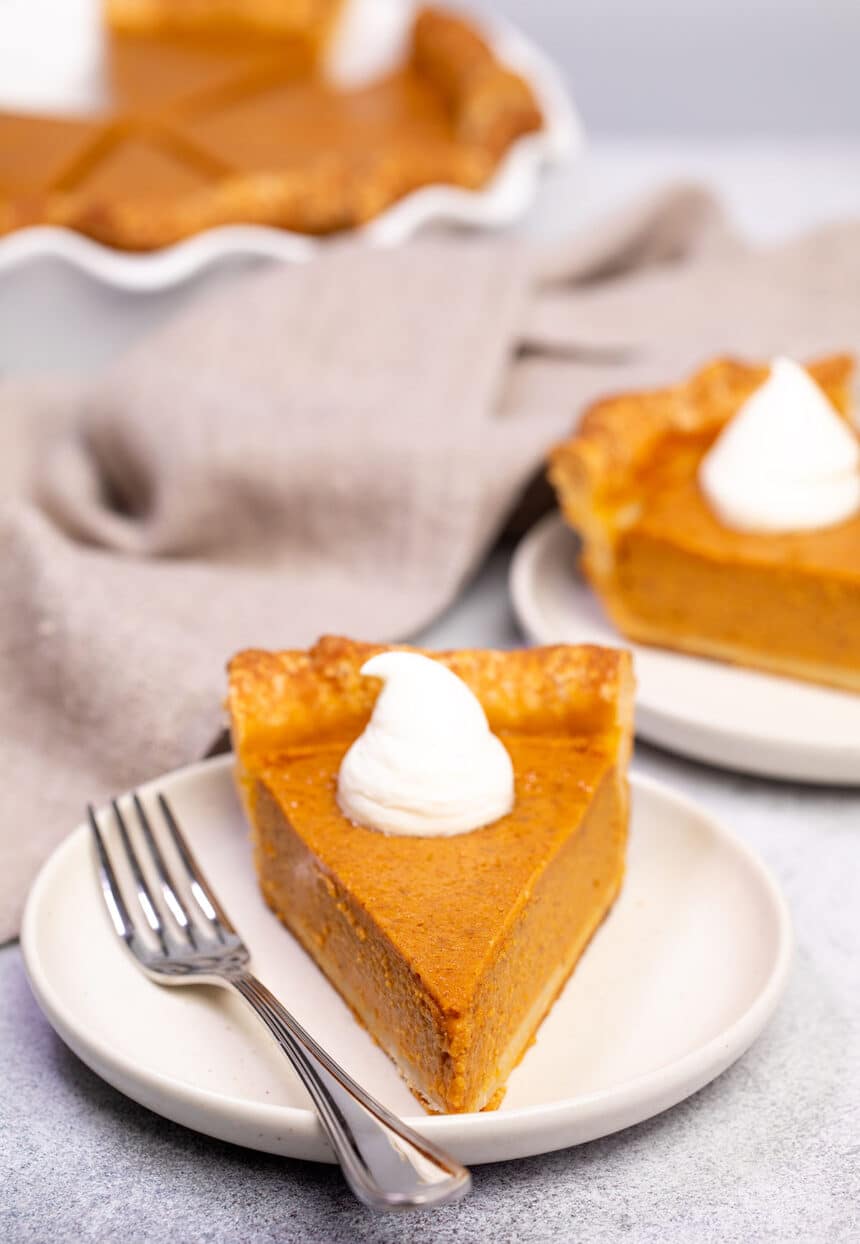
Whether you’re a seasoned baker or new to the gluten free world,this gluten free pumpkin pie promises to be the showstopper at your holiday table. Don’t be intimidated by the need for a gluten free pie crust,because we can show you just how to do that,too!
This pie is beautiful,easy to make,has a rich,velvety texture,and all the right warm fall spices. It even keeps well as leftovers (if there’s any left,of course!).
Why you’ll love this gluten free pumpkin pie recipe
Among all holiday pies,the pumpkin pie is a tradition,a memory,and for many,an absolute must-have on the holiday table.
And I’m confident in saying that this isn’t just any pumpkin pie—it’s thepumpkin pie. Here’s why I think it’s going to earn a permanent spot on your holiday recipe list:
- The classic,traditional pie:It boasts that unmistakable classic rich pumpkin pie taste,right down to the crispy,flaky crust.
- The perfect texture:Every bite is a delightful mix of smooth,creamy,and just the right amount of firmness in the custard filling.
- Plenty of pumpkin flavor:Believe it or not,canned pumpkin (and even homemade roasted pumpkin) doesn’t taste too much like the pumpkin flavor we’ve come to know and love. This pie has all the right sweetness and spices,and it tastes just like you’ll expect.
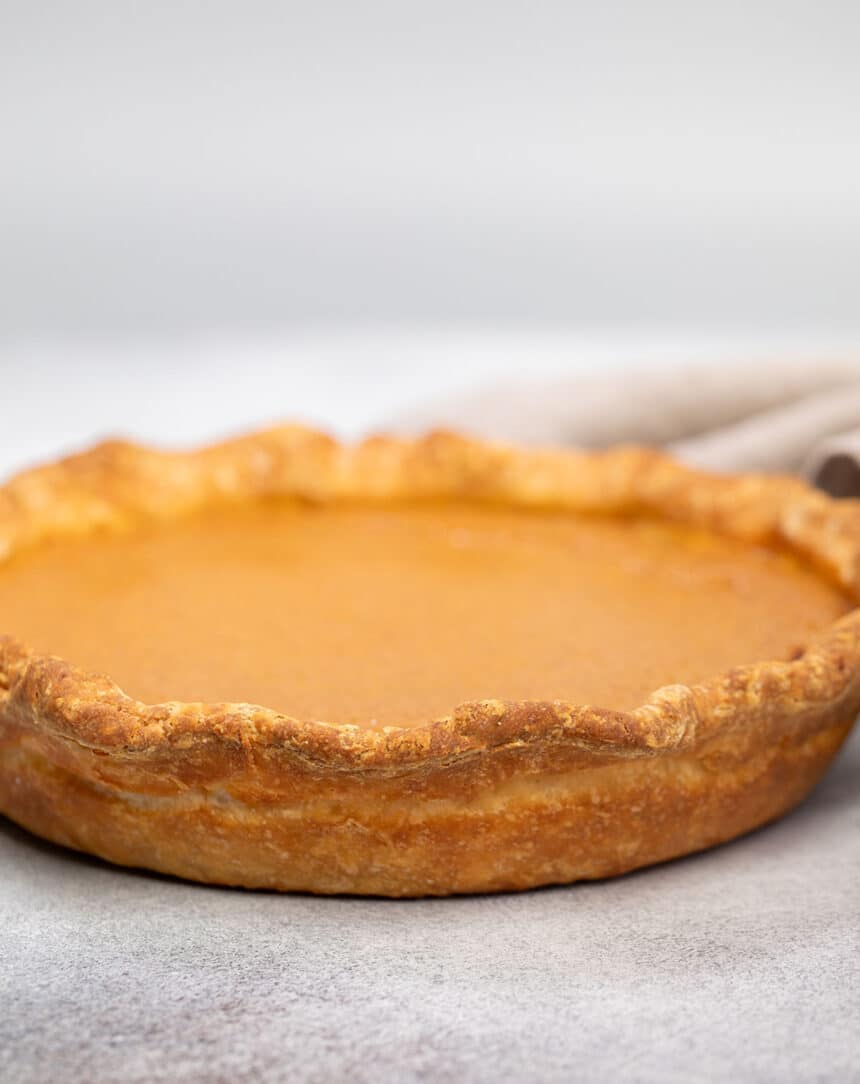

It’s so versatile
Make pumpkin pie without pumpkin!
Did you know that you can use the very same recipe to make sweet potato pie? Both pies are rich and lightly spiced,with a smooth and elegant custard filling and a light and flaky crust. The sweet potato pie is just a tad sweeter with slightly more depth of flavor since we roast the sweet potatoes in their skins first.
Use evaporated milk or heavy cream
There are few options when it comes to this classic pie. Not only can you make your filling with either pumpkin puree or roasted sweet potato puree (instructions on how to roast your sweet potatoes included below),but you can use either evaporated milk or heavy whipping cream.
I’m more than a little partial to the heavy whipping cream version,as it’s richer and creates a smoother pie. The pie still sets up beautifully either way,though.
Choose your favorite gluten free pie crust
There’s also an option when it comes to the gf pie crust,of course. If you’d prefer a more classic pie crust to my sour cream crust,just use the variation of my classic gluten free pie crust without sour cream. If you’re lucky enough to find a premade gluten free pie crust,and you don’t feel comfortable making your own crust,buy the crust and make this pie!
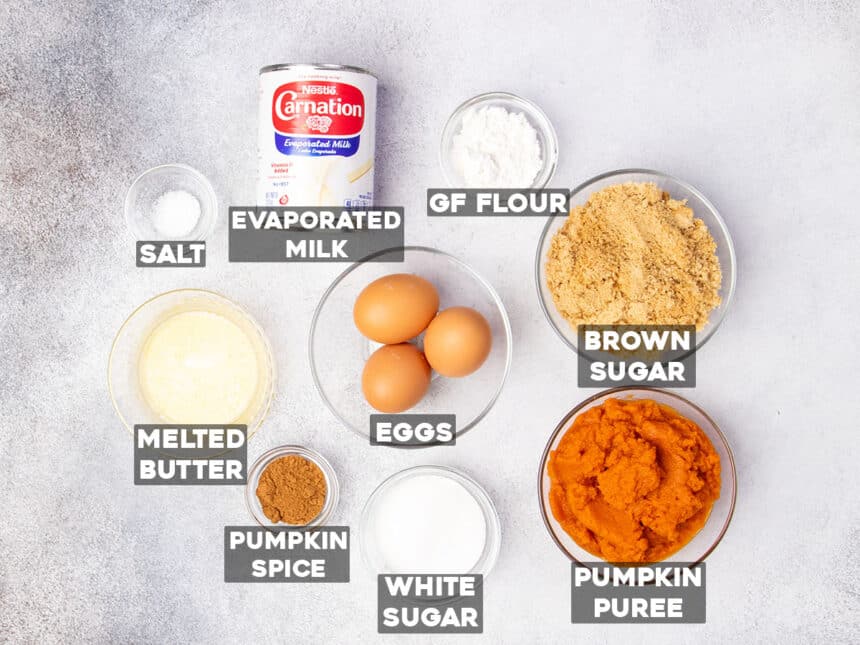

Key ingredients for gluten free pumpkin pie filling
- Pumpkin puree– Take note that a standard can of pumpkin puree is 15 ounces,so you’ll need to measure out the correct amount for this gluten free pumpkin pie recipe. Use the rest of the puree to make a half recipe of my gluten free pumpkin bread in one of those little mini loaf pans!
- Eggs– Pumpkin pie is essentially a custard,so baking with eggs adds richness and structure,creating the custard itself.
- Evaporated milk– Evaporated milk works just fine in this gluten free pumpkin pie filling recipe,but if you want an even richer pie,I suggest using half-and-half or,ideally,heavy whipping cream.
- Butter– Butter contributes to the pie’s richness and moisture,and the fat adds tenderness.
- Sugar– We use both brown sugar and granulated sugar in this easy gluten free pumpkin pie recipe for that perfect blend of sweetness and caramelization. If you’d like more depth of flavor,you can replace 2 tablespoons of the brown sugar with 2 tablespoons of pure maple syrup.
- Pumpkin pie spice– You can make your own gluten free pumpkin spice with a few classic fall spice ingredients or buy a tin from the store.
- Gluten free flour– I’m not picky about which gluten free flour I use in this gf pumpkin pie recipe because we use so little of it. Just make sure it’s a blend and not a single-ingredient flour like almond flour or coconut flour.
How to make gluten free pumpkin pie
Make and parbake the pie crust
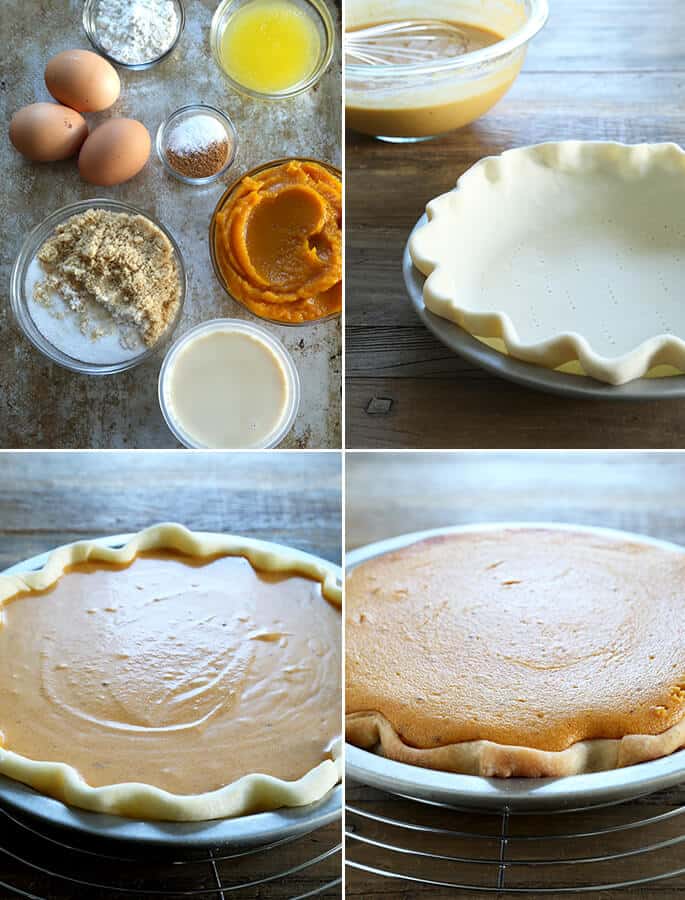
Begin by making and shaping your gluten free pie crust according to the recipe instructions,as linked in the recipe card below. Pierce the bottom of the crust all over with the tines of a fork,line it with parchment paper and fill the crust with ceramic pie weights or dried beans. Parbake,or partially bake,the crust in a 375°F oven for 15 minutes,then remove the lining and weights.
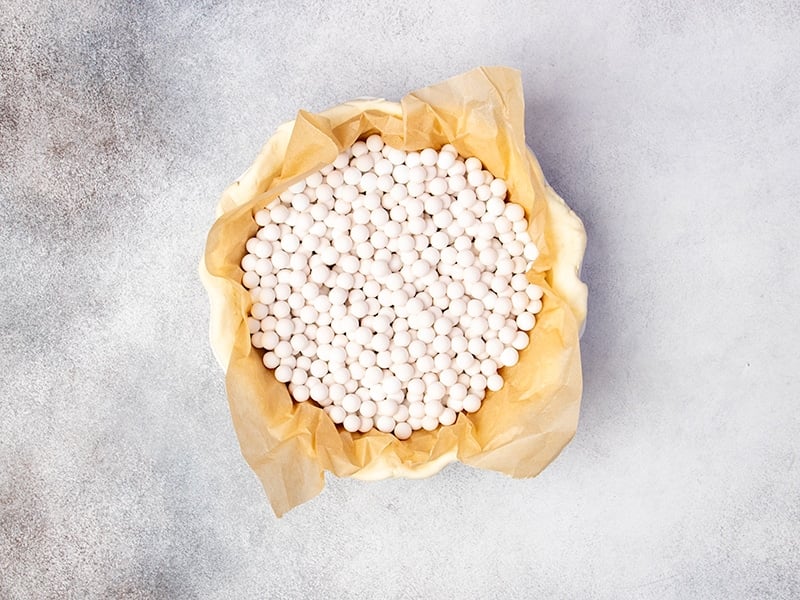

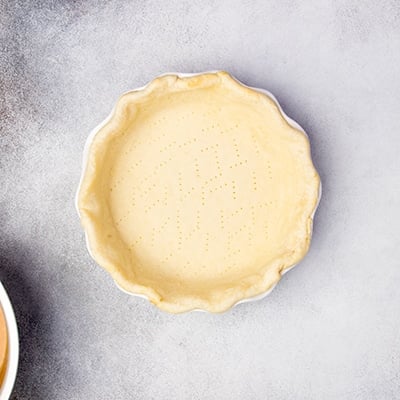

Whisk the filling ingredients,and pour into the pie crust
Whisk together the pumpkin puree,eggs,evaporated milk,melted butter,and sugars in a large mixing bowl. Add some gluten free flour,salt,and pumpkin pie spice and whisk to combine,then pour the filling into the partially baked pie crust.


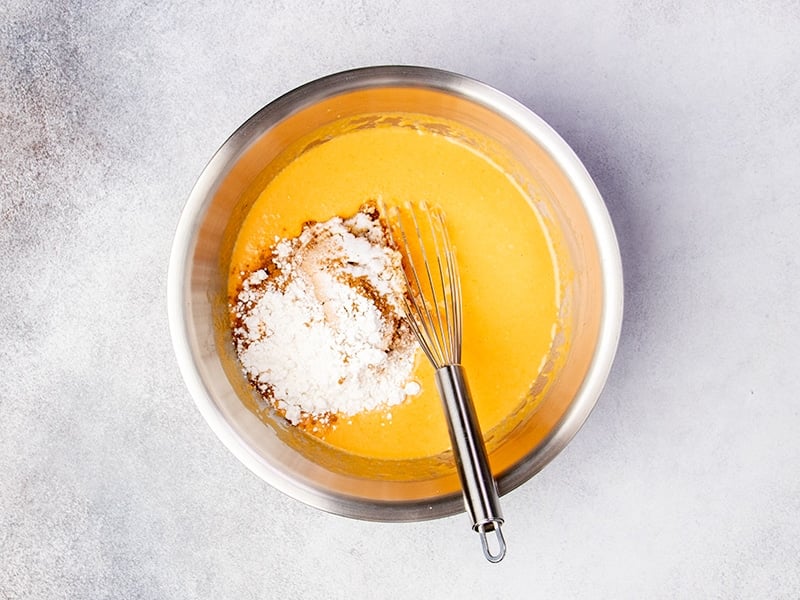

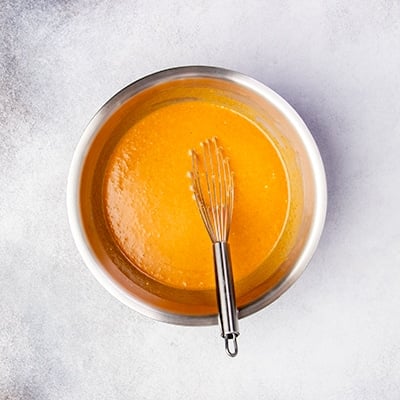

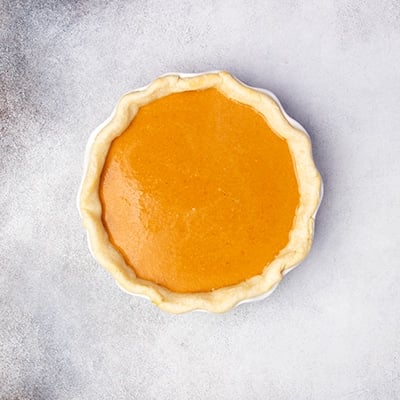

Bake the pie,let cool,chill and slice
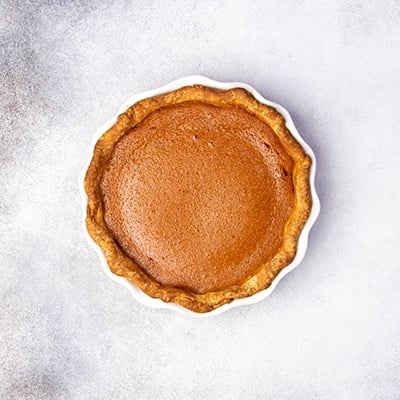
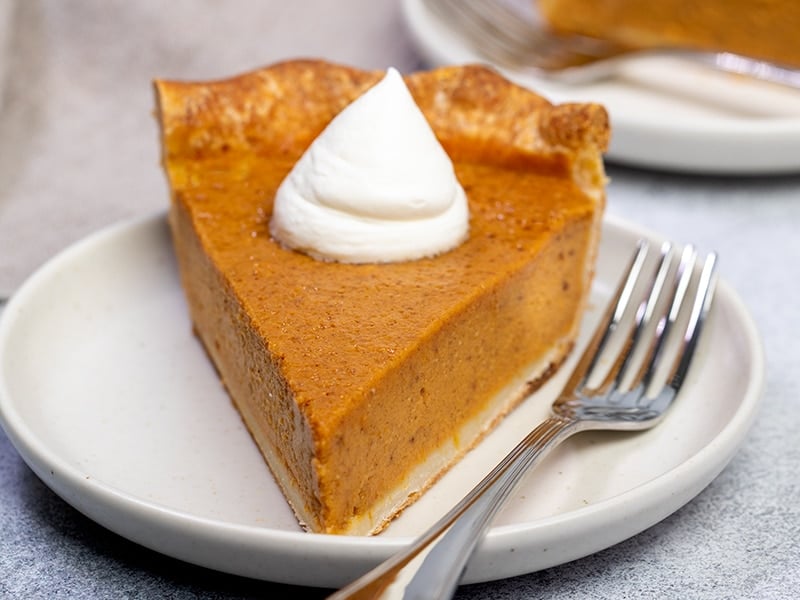
Bake the pie for 15 minutes at 375°F,then lower the oven temperature to 350°F and bake for another 25 minutes,or until the filling doesn’t jiggle when moved from side the side. It will look set,but will still move around a bit. Let it cool to room temperature,then chill until set (about 1 hour 30 minutes). Slice and serve chilled.


Tips for making the best gluten free pumpkin pie
My recipe really is super simple. Even so,I have a few tricks to help you get that perfect golden brown pie crust and deliciously smooth pumpkin filling ever time,from the first time:
Double-check your can of pumpkin puree
We’re really not too worried about gluten in pumpkin puree as true puree contains nothing but pumpkin,which is naturally gluten free.
However,you do want to be sure that you actually pick up pureeand not pumpkin pie filling. The two look similar,but the latter is already sweetened or spiced. It’s what you use when you’re looking to dump something into a crust and bake. That’s not what we’re doing here.
Crust options for every baker
If you’re short on time or just not in the mood to make a classic gluten free pie crust,consider these alternatives:
- Crustless pumpkin pie:This option eliminates the crust-making step entirely. While the filling remains delicious,you might miss that crispy,flaky crust that completes the pumpkin pie experience.
- Store-bought solutions:During the pie season,many stores offer ready-made gluten free pie crusts. They can be a great time-saver and taste surprisingly close to homemade.
- Use a gluten free graham cracker crust. Make your own using our recipe,or look for a store-bought one,like the one sold by Mi-Del.
Par-bake your crust
Whether you’re using a homemade or store-bought crust,don’t forget to parbake it. That just means to half-bake it without the filling first. This step ensures your crust remains crisp and doesn’t turn soggy from the pie filling.
How to keep your gluten free pie crust from burning
As you bake your gluten free Thanksgiving pie,peek in on it every once a while (without opening the oven!). Pay particular attention to the crust,which could brown before the pie is ready.
Should you notice the crust getting dark,just wrap the bottom of the pie pan with a bit of aluminum foil,and cover the visible crust around the edges,too. This will shield it from the more direct heat and help to slow down the browning.
Use cold butter in the crust
One of the keys to achieving that perfect flaky crust is using cold butter. When you incorporate cold butter into your pie crust,it creates tiny pockets of fat that,when baked,result in layers of flakiness.
As the butter melts during baking,it releases steam,puffing up those layers and ensuring a crust that’s both tender and flaky. So,always make sure your butter is straight from the fridge,or even after a few minutes in the freezer. The fat in butter won’t freeze solid.
Storing and serving your pie
Given the dairy and eggs in our gluten free pumpkin pie,it’s best stored in the fridge. Although it can sit out during serving,ensure any leftovers are refrigerated promptly.
For optimal freshness,seal it in an airtight container or wrap it tightly with plastic wrap. If condensation forms on the pie after refrigeration,gently dab it with a paper towel.
Making gluten free pumpkin pie in advance for a stress-free holiday
This pie can be baked completely ahead of time (right now,in fact!),cooled completely,then covered tightly with plastic wrap and frozen until you’re ready to serve it.
Defrost it in the refrigerator overnight,and then allow it to sit on the counter for at least 30 minutes before slicing and serving. The pumpkin (or sweet potato) custard filling will still be smooth,and the crust as flaky as ever.
Serving suggestions
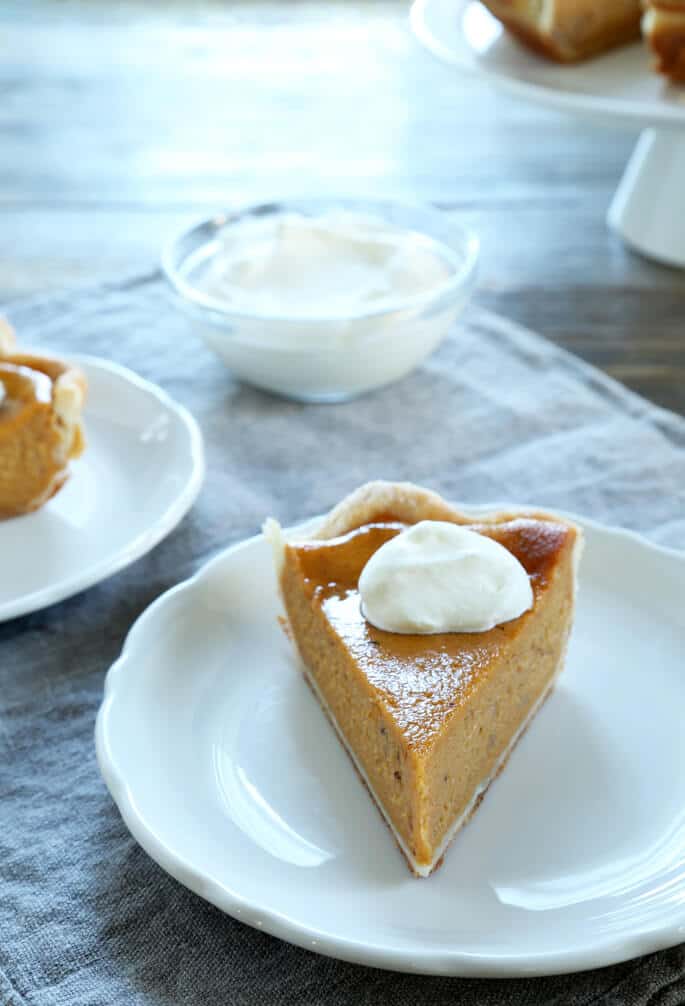
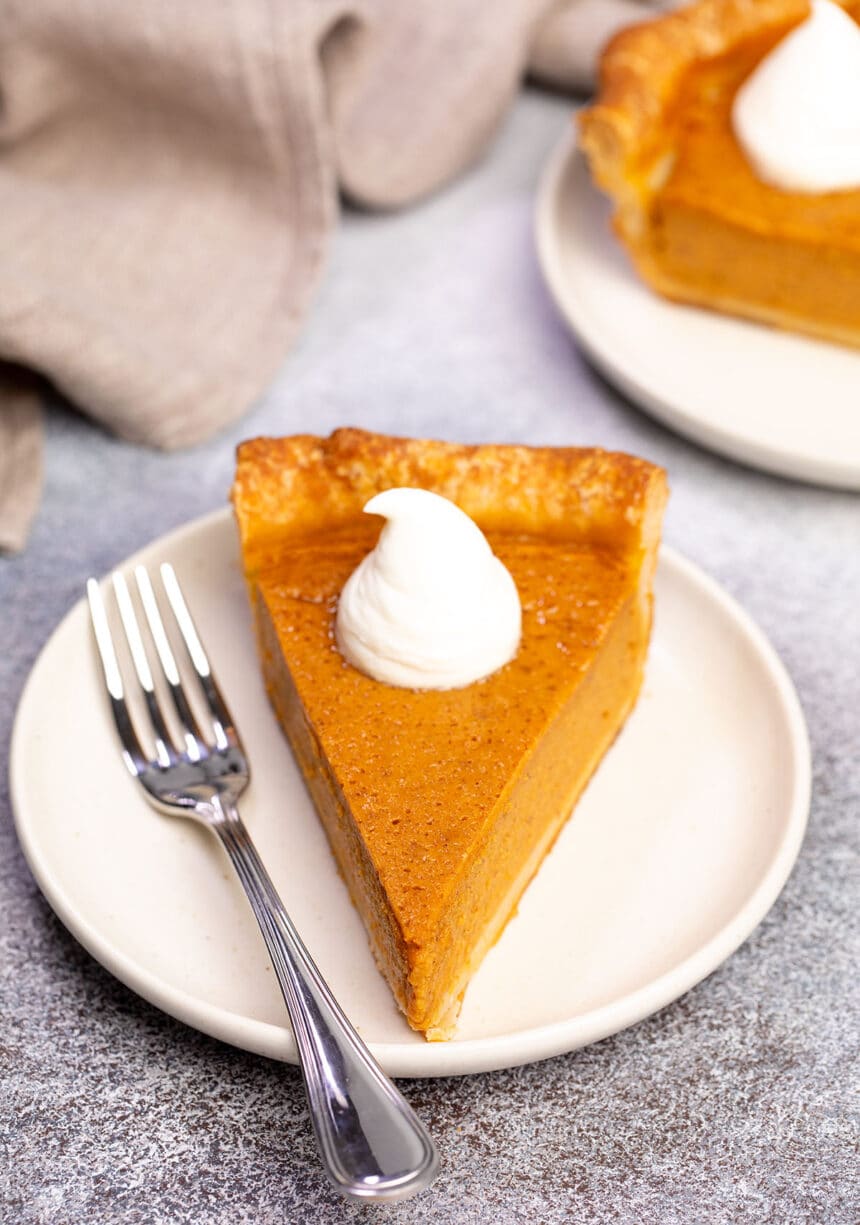
I like all custard pies,like this pumpkin pie,chilled or at room temperature. It’s delicious plain,but it’s even better with a bit of whipped cream.

Pumpkin pie ingredients &substitution suggestions
Dairy free pumpkin pie
There are a few dairy free options you can try when making this gluten free pumpkin pie.
Let’s start with the crust:The recipe I include contains dairy in the butter and sour cream. For a dairy free pie,just use the variation in the pie crust recipe without sour cream,and use vegan butter for the butter.
When it comes to the pumpkin pie filling,you can switch out the evaporated milk for dairy free half and half or canned light coconut milk,and then swap the butter for a vegan butter like Miyoko’s Kitchen or Melt brand.
Vegan pumpkin pie
This homemade gluten free pumpkin pie recipe contains 3 eggs,and I’m afraid that’s just too many to omit or attempt to swap out with an egg substitute.
Substituting pumpkin puree
If you’d rather make your own pumpkin puree rather than buy a can,you’re absolutely free to do that.
Don’t have pumpkin? That’s okay — this recipe easily becomes one for gluten free sweet potato pie when you exchange the puree for an equal amount of roasted sweet potato puree.
FAQs
Traditional pumpkin pie is not gluten free because its crust is made with a wheat-based crust. This means you can’t just run out to the store and buying a gluten free pie unless it’s specifically labeled gluten free.
No,pumpkin does not contain gluten — it’s a naturally gluten free food like most fruits and vegetables. (Fun fact:Pumpkin is actually categorized as a fruit!)
Homemade pumpkin pie filling is also not gluten free,unless you’re following a gluten free recipe like this one. This is because traditional recipes rely on wheat flour as a thickener.
Yes,most brands of canned pumpkin puree are gluten free because they contain nothing more than pumpkin. However,you should always double-check product labels to be sure the can you’re picking up is safe.
No,canned pumpkin pie filling and pureed pumpkin are different things.
Pumpkin pie filling is reduced,sweetened,and spiced pumpkin that’s ready to pour into a crust and bake. Pureed pumpkin is simply 100% pure pumpkin. There’s no sugar or spice,so you need to add your own when making a pie.
For this gf pumpkin pie recipe,I’m not picky at all about which brand of gluten free flour you use,so long as it’s a blend. Pick one with or without xanthan gum because we use so little that it won’t have an effect.
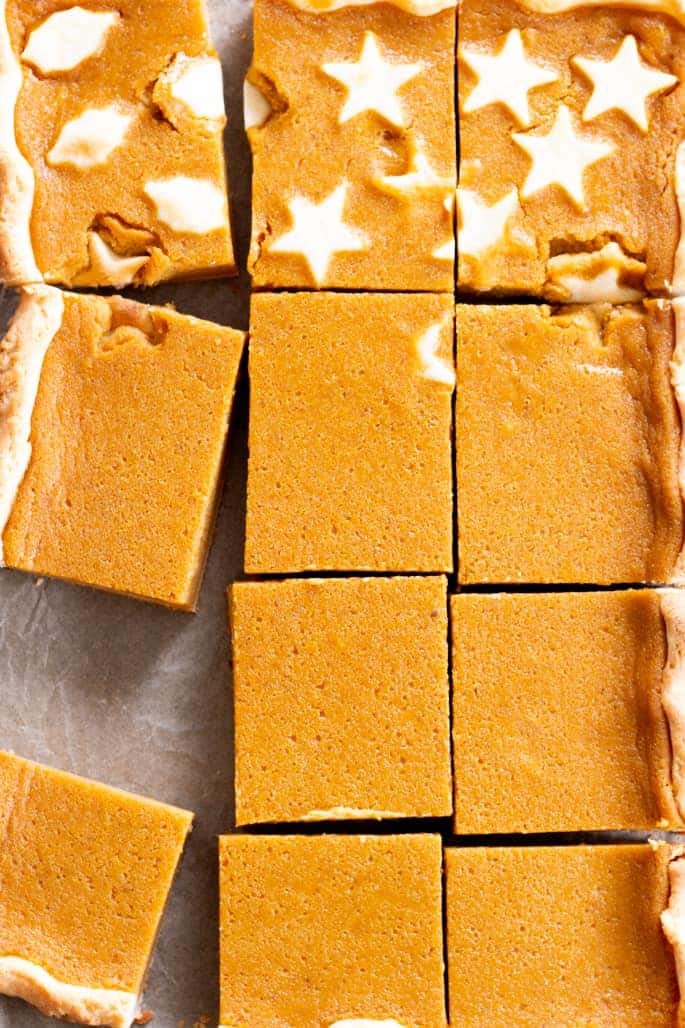
This pie recipe isn’t designed to be baked in a larger pan,but we also have a recipe for gluten free pumpkin slab pie that you can use for feeding a big crowd of pumpkin-lovers! The photo for that pie is just below.
I don’t use an egg wash when preparing my pie crust because I find that it simply doesn’t need it. Egg washes give pie crusts a shiny appearance and can help it crisp up so that it doesn’t get soggy later. While you’re free to add in this step,I’ve never had a problem skipping it.
It’s essential that you bake your gluten free crust before adding in the pumpkin filling. Baking it creates a crust that’s hard enough to keep from absorbing the moisture from the filling.
Absolutely! If you’d like to save time,there’s nothing wrong with using a prepared gf pie crust from the store. Just be absolutely certain that it’s gluten free.
You can try reducing the amount of sugar in the filling slightly,but sugar is not just for sweetness. It’s also for texture and bulk.
It’s actually fairy easy to tell when a pumpkin pie is ready:Give it a slight shake and take note of the center. If the center jiggles in a controlled way,your pie is ready. The pie will firm up completely once cooled and refrigerated.

Gluten Free Pumpkin Pie Recipe
Bake this gluten free pumpkin pie for Thanksgiving,potlucks,or any time you’re craving that rich,warm,smooth flavor of pumpkin.
Yield:8slices pie
Prevent your screen from going dark
Ingredients
- 1recipeGluten Free Pie Crust
- 11ounces(308g)canned pumpkin pureeor roasted sweet potato puree (See Recipe Notes)
- 3(150g (weighed out of shell))eggsat room temperature
- 10fluid ouncesevaporated milkor heavy whipping cream (or half of each),at room temperature
- 3tablespoons(42g)unsalted buttermelted and cooled briefly
- ¾cup(164g)packed light brown sugar
- ¼cup(50g)granulated sugar
- ½teaspoonkosher salt
- 2teaspoonspumpkin pie spice
- 2tablespoons(18g)all purpose gluten free flour blend(any of my preferred blends will do,with or without xanthan gum)
Instructions
Prepare the pie crust.
Prepare the pie crust according to the recipe instructions,through and including the parbaking of the pie crust,in a standard 9-inch or 10-inch round pie pan.
Once the crust is done parbaking,remove it from the oven and allow it to sit for a couple of minutes before removing the parchment paper and pie weights.
Keep the oven temperature at 375°F.
Prepare the filling.
In a large bowl,place the pumpkin or sweet potato puree,eggs,milk or cream,and melted butter,and whisk vigorously to beat the eggs and combine the mixture very well.
The mixture should be smooth,and will be quite thin if you used evaporated milk,thicker if you used heavy whipping cream.
Add the brown sugar,granulated sugar,salt,pumpkin pie spice and flour blend,whisking until just combined after each addition.
If you used evaporated milk,the mixture will be relatively thin. If you used heavy whipping cream,the mixture will be thicker and creamier.
Fill the crust and bake the pie.
Pour the prepared filling into warm crust,and smooth it into an even layer.
Return the crust to the oven and bake for 15 minutes at 375°F.
Reduce the heat of the oven to 350°F and bake until the edges are puffed and set,and the center jiggles only slightly and in a controlled,rather than a loose,way when the pie is shaken from side to side (about another 25 minutes).
Remove from the oven and place the pie plate on a cooling rack.
Allow the pie to cool for at least 45 minutes or until cool to the touch before covering tightly with plastic wrap and placing in the refrigerator to chill until firm (about 1 1/2 hours).
Remove the pie from the refrigerator and allow to sit at room temperature for 30 minutes before slicing and serving.
Notes
To make the sweet potato puree,wash and pierce 3 medium (or 5 small) sweet potatoes with a fork.
Place them on a baking sheet and bake,at 375°F,until the skin loosens and the flesh is very soft (anywhere from 30 minutes to an hour or more,depending upon the size of the potatoes).
Allow the sweet potatoes to cool until they can be handled,and peel the skin from the flesh.
Place the roasted sweet potato flesh in a food processor fitted with the steel blade,and process until smooth.
Nutrition
Serving:1slice| Calories:237kcal| Carbohydrates:36g| Protein:5g| Fat:9g| Saturated Fat:5g| Polyunsaturated Fat:1g| Monounsaturated Fat:3g| Trans Fat:0.2g| Cholesterol:83mg| Sodium:218mg| Potassium:247mg| Fiber:1g| Sugar:31g| Vitamin A:6376IU| Vitamin C:2mg| Calcium:138mg| Iron:1mg
Gluten Free Pumpkin Pie Recipe
Bake this gluten free pumpkin pie for Thanksgiving,potlucks,or any time you're craving that rich,warm,smooth flavor of pumpkin.
Yield:8slices pie
Prevent your screen from going dark
Ingredients
- 1recipeGluten Free Pie Crust
- 11ounces(308g)canned pumpkin pureeor roasted sweet potato puree (See Recipe Notes)
- 3(150g (weighed out of shell))eggsat room temperature
- 10fluid ouncesevaporated milkor heavy whipping cream (or half of each),at room temperature
- 3tablespoons(42g)unsalted buttermelted and cooled briefly
- ¾cup(164g)packed light brown sugar
- ¼cup(50g)granulated sugar
- ½teaspoonkosher salt
- 2teaspoonspumpkin pie spice
- 2tablespoons(18g)all purpose gluten free flour blend(any of my preferred blends will do,with or without xanthan gum)
Instructions
Prepare the pie crust.
Prepare the pie crust according to the recipe instructions,through and including the parbaking of the pie crust,in a standard 9-inch or 10-inch round pie pan.
Once the crust is done parbaking,remove it from the oven and allow it to sit for a couple of minutes before removing the parchment paper and pie weights.
Keep the oven temperature at 375°F.
Prepare the filling.
In a large bowl,place the pumpkin or sweet potato puree,eggs,milk or cream,and melted butter,and whisk vigorously to beat the eggs and combine the mixture very well.
The mixture should be smooth,and will be quite thin if you used evaporated milk,thicker if you used heavy whipping cream.
Add the brown sugar,granulated sugar,salt,pumpkin pie spice and flour blend,whisking until just combined after each addition.
If you used evaporated milk,the mixture will be relatively thin. If you used heavy whipping cream,the mixture will be thicker and creamier.
Fill the crust and bake the pie.
Pour the prepared filling into warm crust,and smooth it into an even layer.
Return the crust to the oven and bake for 15 minutes at 375°F.
Reduce the heat of the oven to 350°F and bake until the edges are puffed and set,and the center jiggles only slightly and in a controlled,rather than a loose,way when the pie is shaken from side to side (about another 25 minutes).
Remove from the oven and place the pie plate on a cooling rack.
Allow the pie to cool for at least 45 minutes or until cool to the touch before covering tightly with plastic wrap and placing in the refrigerator to chill until firm (about 1 1/2 hours).
Remove the pie from the refrigerator and allow to sit at room temperature for 30 minutes before slicing and serving.
Notes
To make the sweet potato puree,wash and pierce 3 medium (or 5 small) sweet potatoes with a fork.
Place them on a baking sheet and bake,at 375°F,until the skin loosens and the flesh is very soft (anywhere from 30 minutes to an hour or more,depending upon the size of the potatoes).
Allow the sweet potatoes to cool until they can be handled,and peel the skin from the flesh.
Place the roasted sweet potato flesh in a food processor fitted with the steel blade,and process until smooth.
Nutrition
Serving:1slice| Calories:237kcal| Carbohydrates:36g| Protein:5g| Fat:9g| Saturated Fat:5g| Polyunsaturated Fat:1g| Monounsaturated Fat:3g| Trans Fat:0.2g| Cholesterol:83mg| Sodium:218mg| Potassium:247mg| Fiber:1g| Sugar:31g| Vitamin A:6376IU| Vitamin C:2mg| Calcium:138mg| Iron:1mg


Thanks for stopping by!
Hi,I’m Nicole. I create gluten free recipes that really work and taste as good as you remember. No more making separate meals when someone is GF,or buying packaged foods that aren’t good enough to justify the price. At Gluten Free on a Shoestring,“good,for gluten free” just isn’t good enough! Come visit my bio!
