![]()
I had so much fun making and eating this bowl of warm, homemade hummus that even though I’m far from an authority on the Middle Eastern spread—and even though there are many acclaimed recipes for it online—I just had to share this journey and recipe with you. Why hummus? It’s something I had been dropping into my shopping cart a lot lately, and eating up the tubs far too quickly for my once-or-twice-a-week grocery-shopping routine. It had been several years since I’d made hummus from scratch but I knew from those experiences it was essentially chickpeas, tahini, garlic, lemon juice and olive oil. What I didn’t realize initially is that there is always—always!—something new to discover each time you cook something. Like the solace of squeezing each chickpea out of its papery skin after boiling, and the delight of frying them into a chip-like garnish.
Some people find their escapist pleasures from TV shows, podcasts, exercise, or knitting. I like to get lost in cooking—in sweating onions and butter in my favorite heavy-bottomed pot, not hurrying the process because I need to have that soup finished at any certain time, nor spending the extra time doting over the pot for any real culinary virtues, such as ultra-sweet, gluey rings. But, of course, it’s all the more rewarding when you’ve come away from your little retreat with something that’s not just edible but unexpectedly delicious.
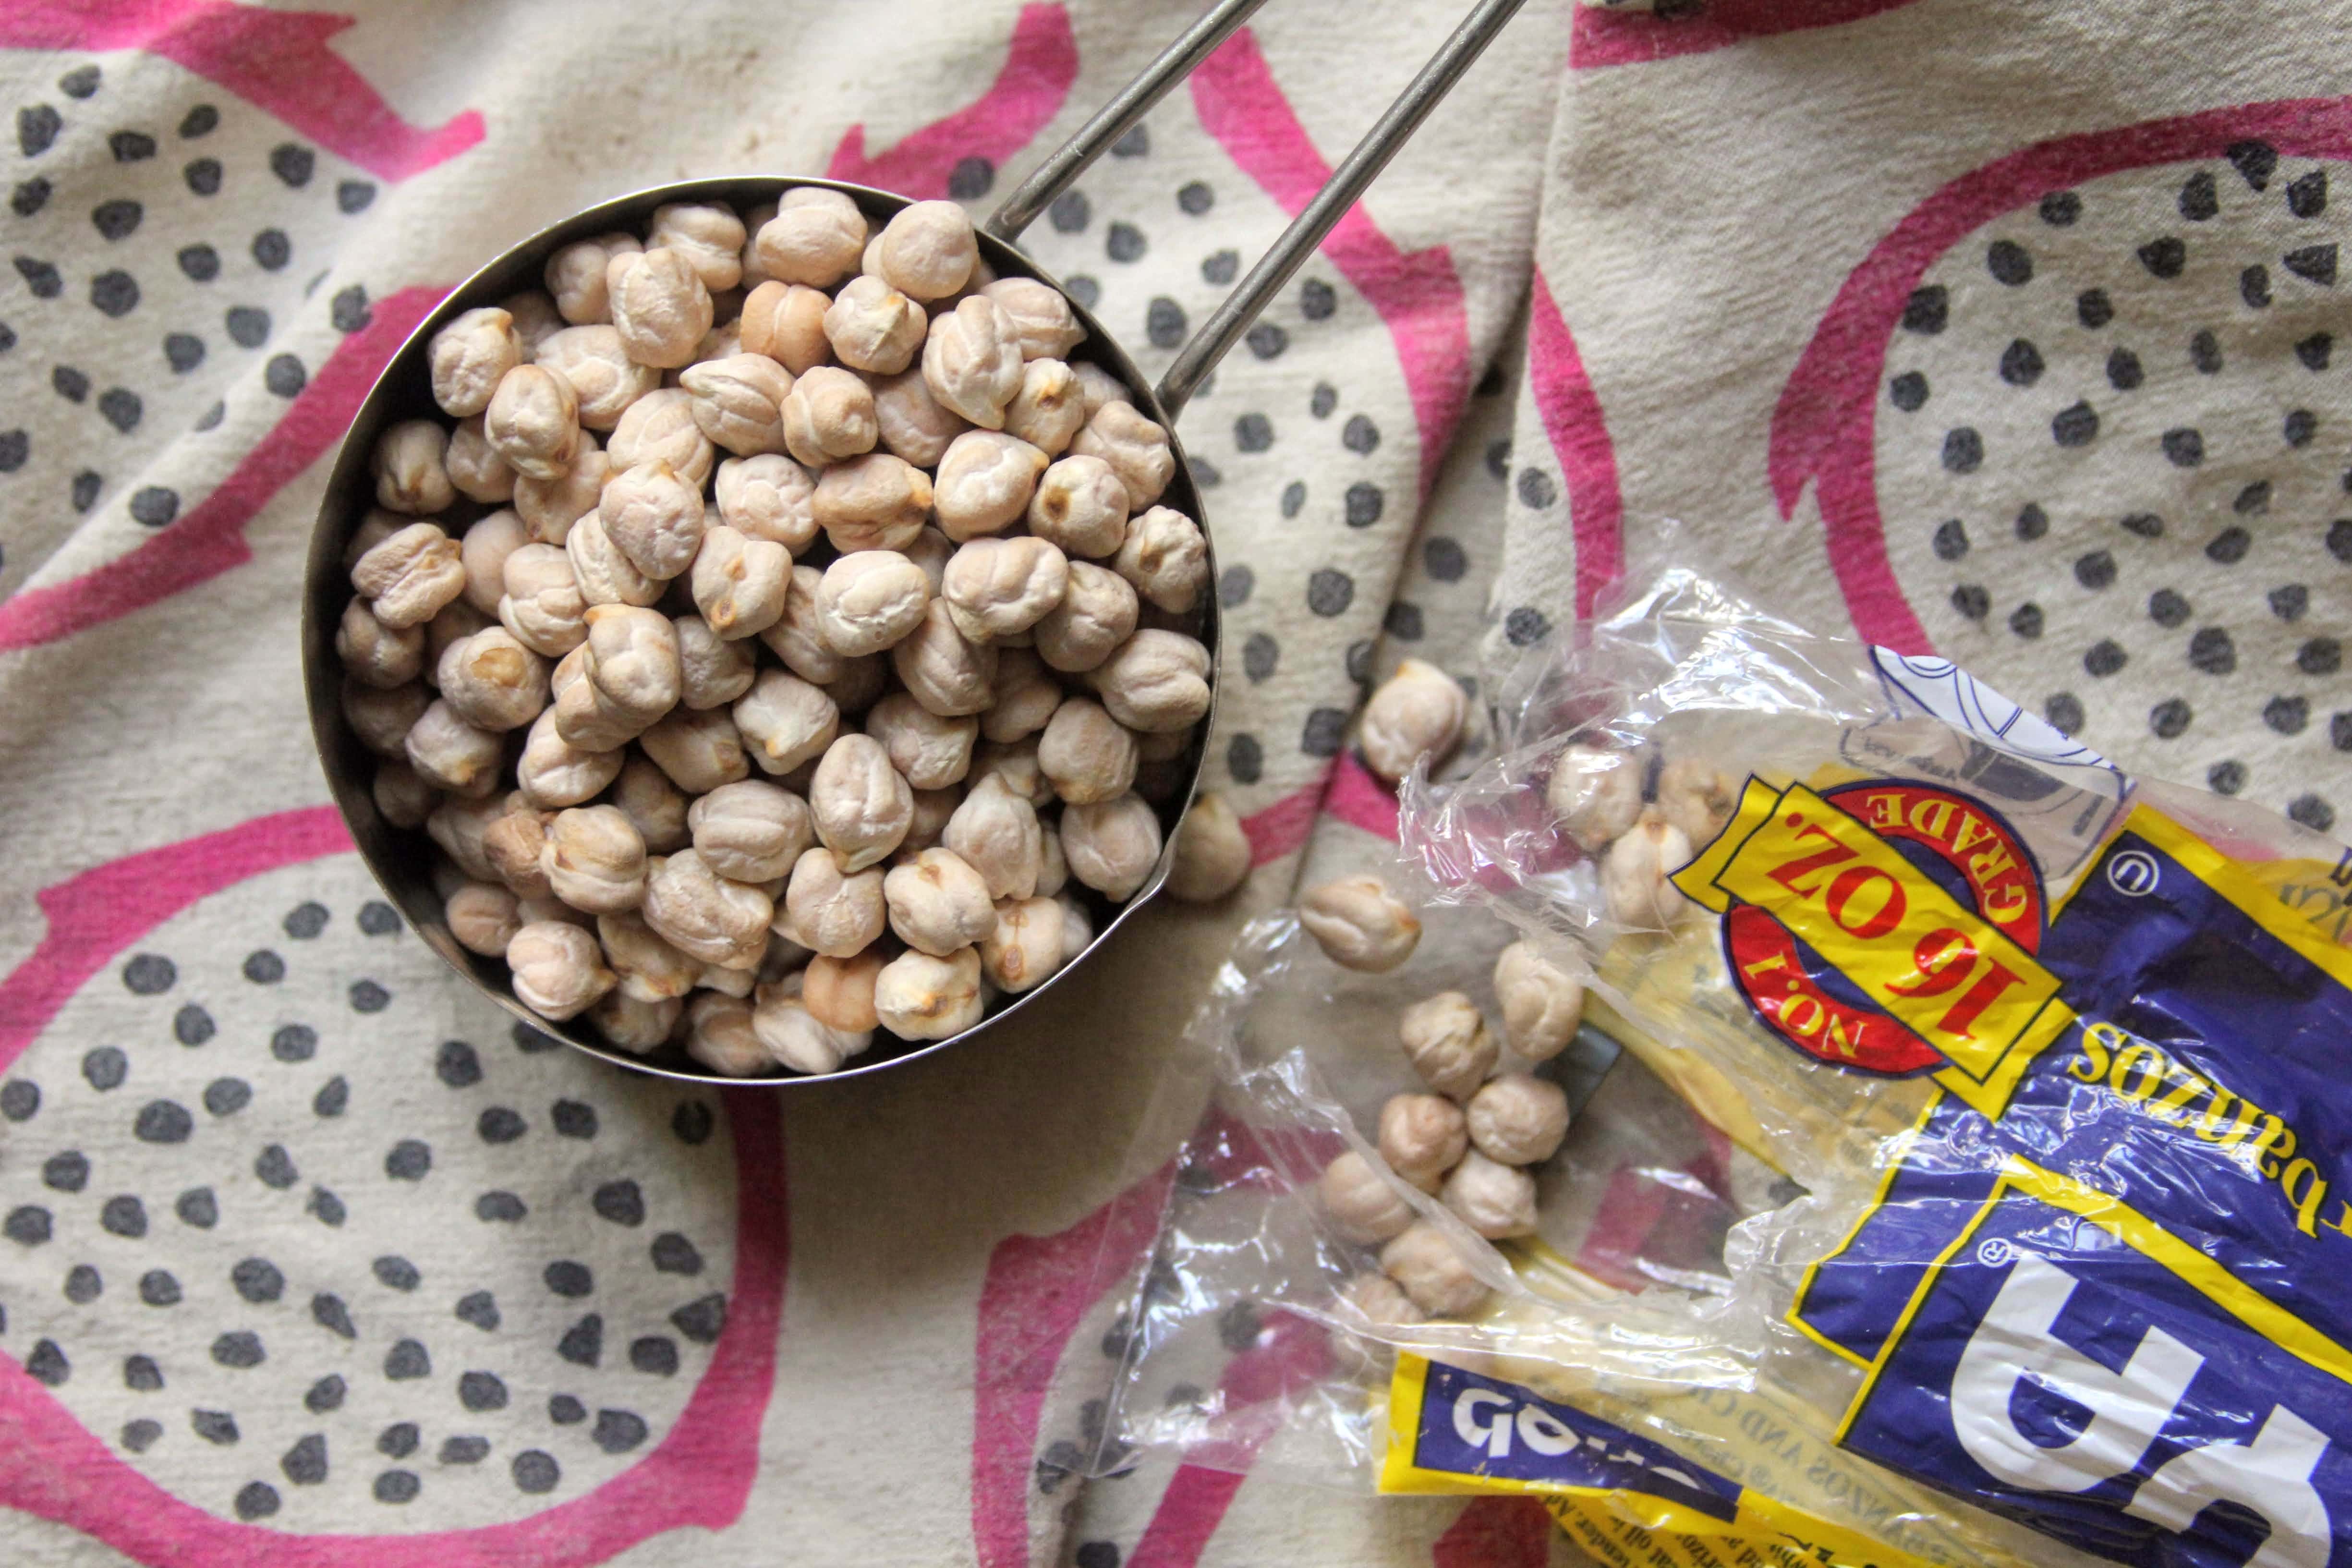
The simple triumphs of making something delicious from scratch have been more comforting to me than ever since COVID-19 has hit—and I’m far from alone in this feeling. I’ve written about how cooking can be a meditative balm during stressful times here before, and I shared a few tips on how to make the most of it in light of the pandemic at Thrillist recently. Being able to take the time to really savor the movements of cooking is something reserved for the most privileged home cooks, before the pandemic and now more than ever. And yet, thanks to the sedentary lives of those sheltering in place, so many people are becoming newly lost in such time-consuming cooking projects, like baking bread or soaking dried beans and simmering them until tender, documenting every step along the way.
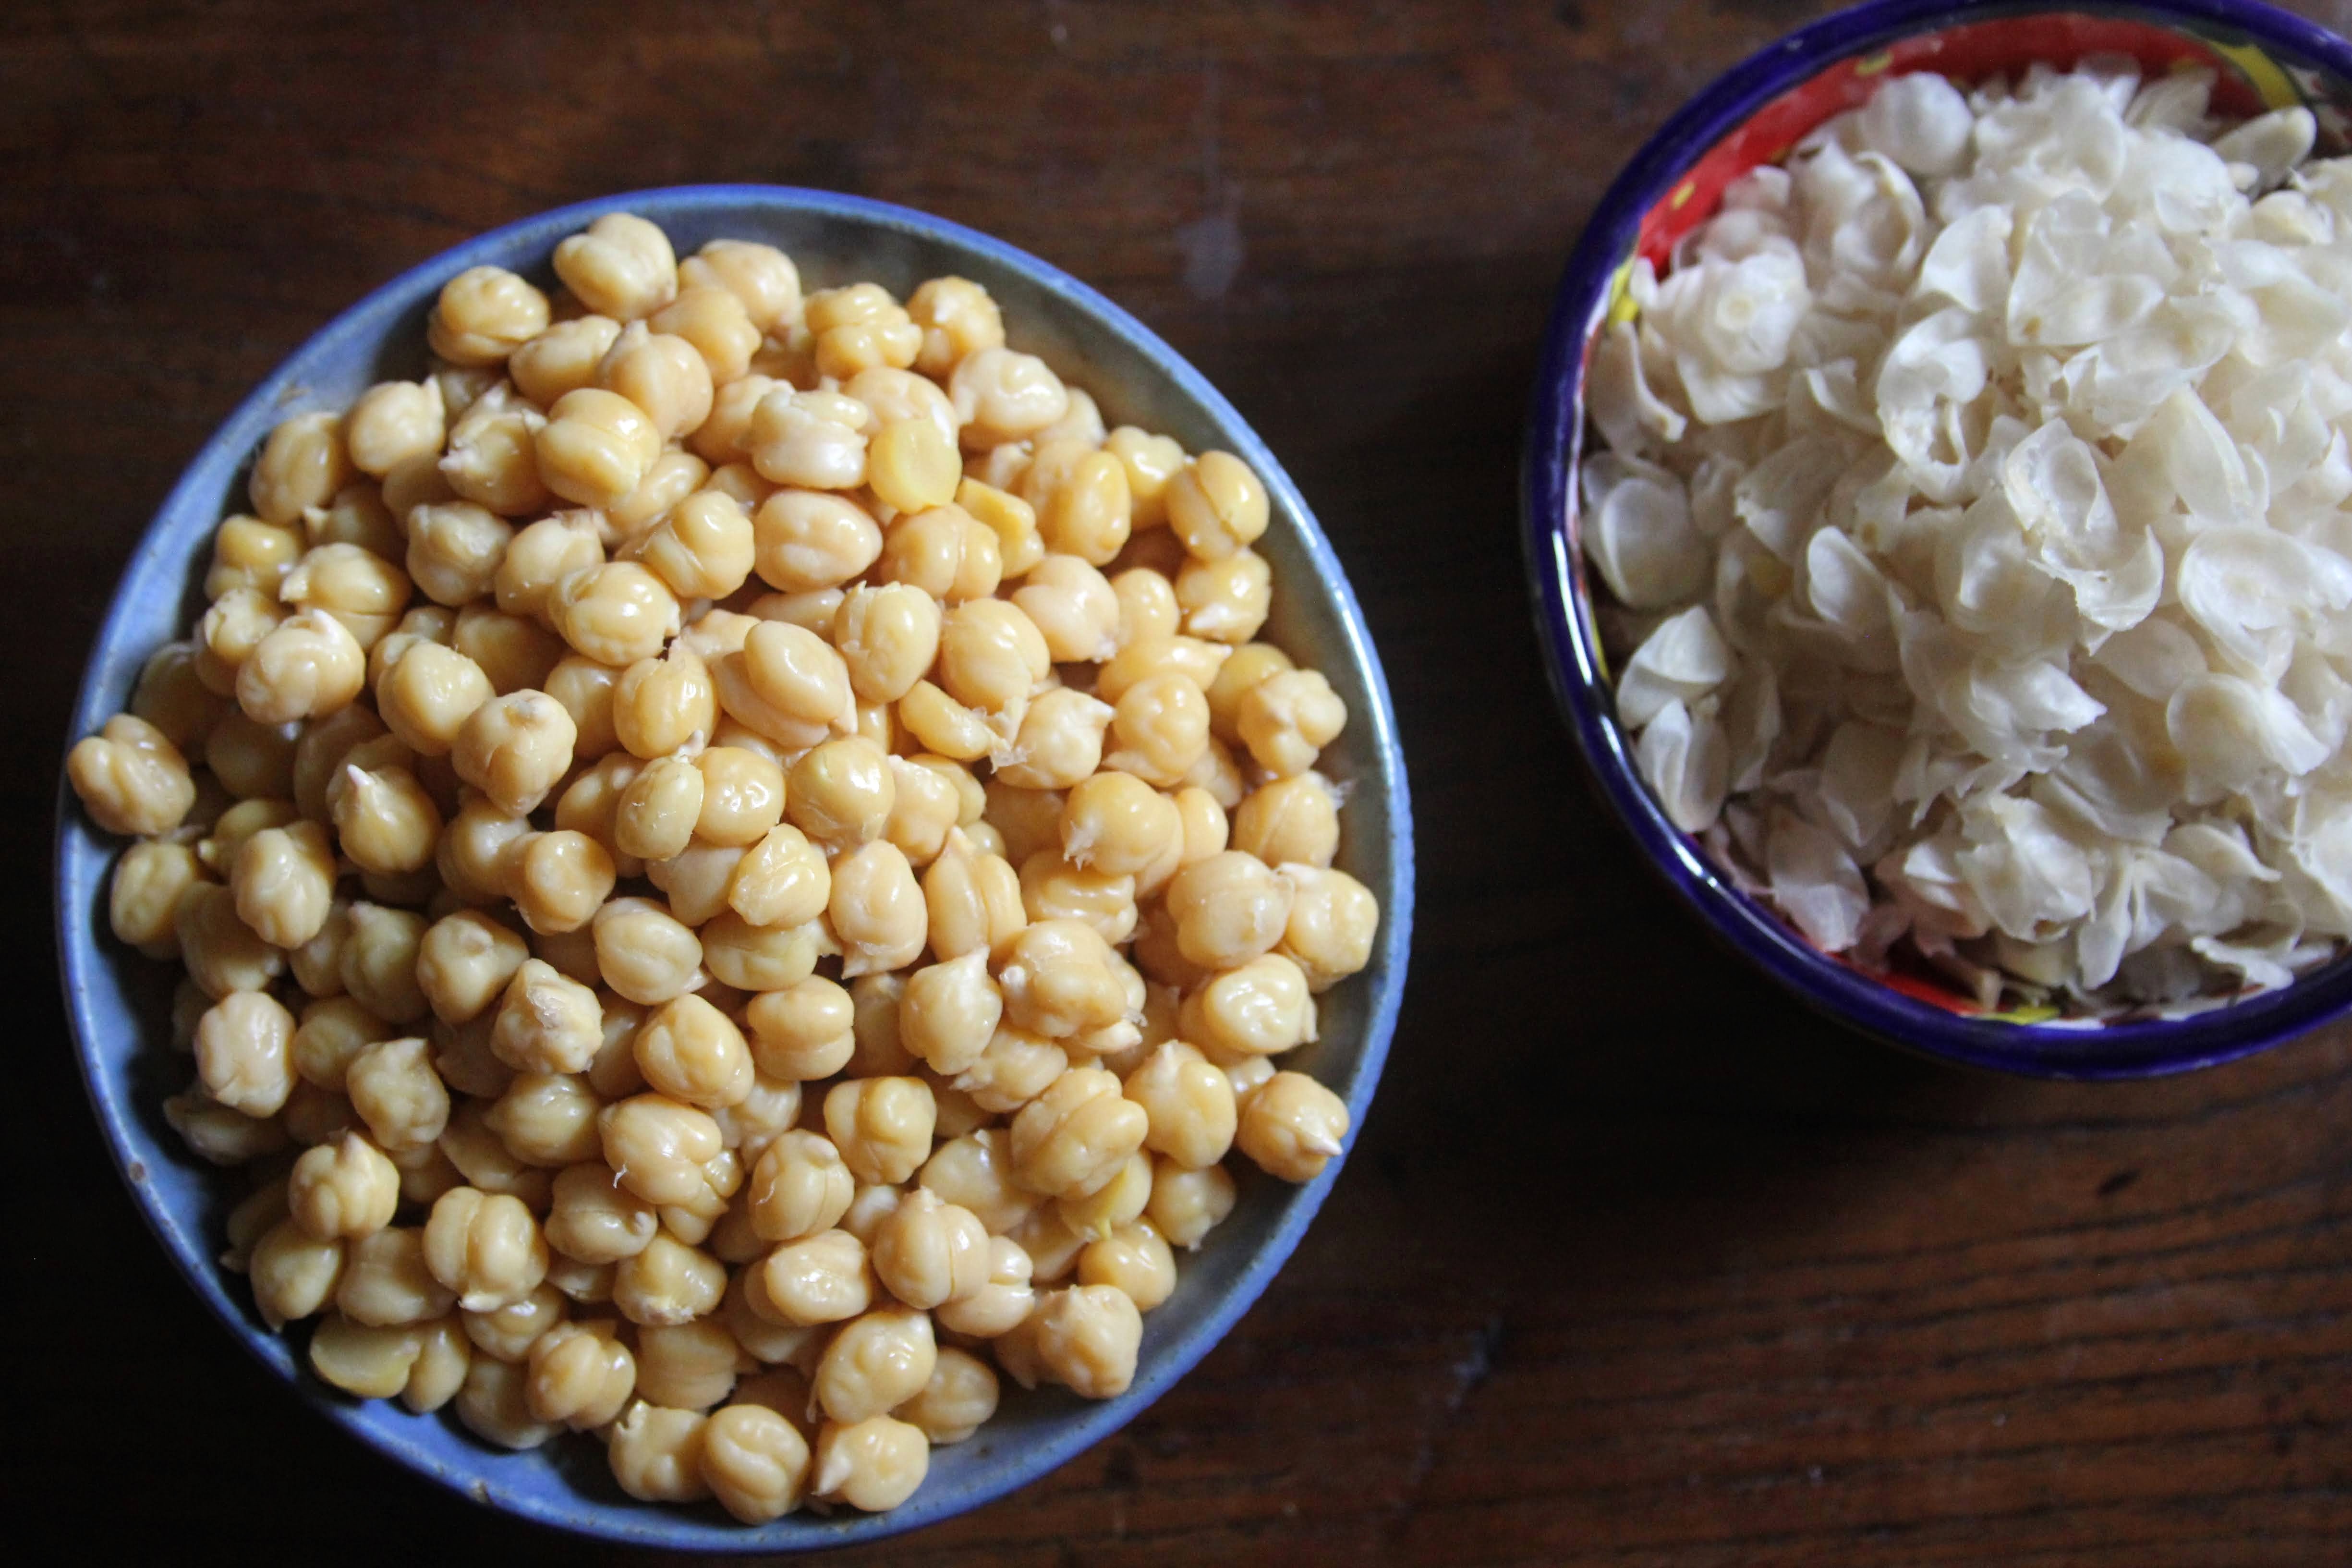
So that is how I ended up spending nearly an hour popping chickpeas out of their translucent-white skins once they were fully boiled and cooled. I wasn’t entirely sure that this step would pay off handsomely, or even at all, in the resulting hummus. It didn’t appear in many of the recipes I had seen before. I just found it absorbing to do: to clutch one single chickpea between my thumb and forefinger and apply just the right amount of pressure to just the right off-center spot so that the smooth, shiny pea would slip out. Stripped of their husks, chickpeas look like crazy little brains with sharp little tails. Once I saw how dramatically different they were without the skins, I just couldn’t stop.
At this point you might be wondering: Did I put something alkaline, like baking soda, in the water that the chickpeas cooked in to make the hummus smoother, or—as some have helpfully instructed—to make this process of removing the skins easier? Unfortunately not, as I didn’t seem to have any of this pantry staple, baking soda, on hand. Yet if you look at recipes dated before the groundbreaking hummus recipe from chef Michael Solomonov, in his 2015 cookbook, Zahav, which included baking soda, there are not too many inclusions of this secret-weapon ingredient. Like in the cookbooks of Claudia Roden, a chronicler of Middle Eastern and Jewish cuisine. I like how in Adeena Sussman’s recent Sababa, there are two hummus recipes: one “Magical Hummus” recipe that starts with dried chickpeas and involves baking soda, and one “Quick and Easy” version, made with canned chickpeas, which she writes there is “no shame in.” Well, I didn’t go the quick and easy canned chickpea route this time, although I definitely have before and would again. The way I made it this time was more like the scenic detour route to hummus.
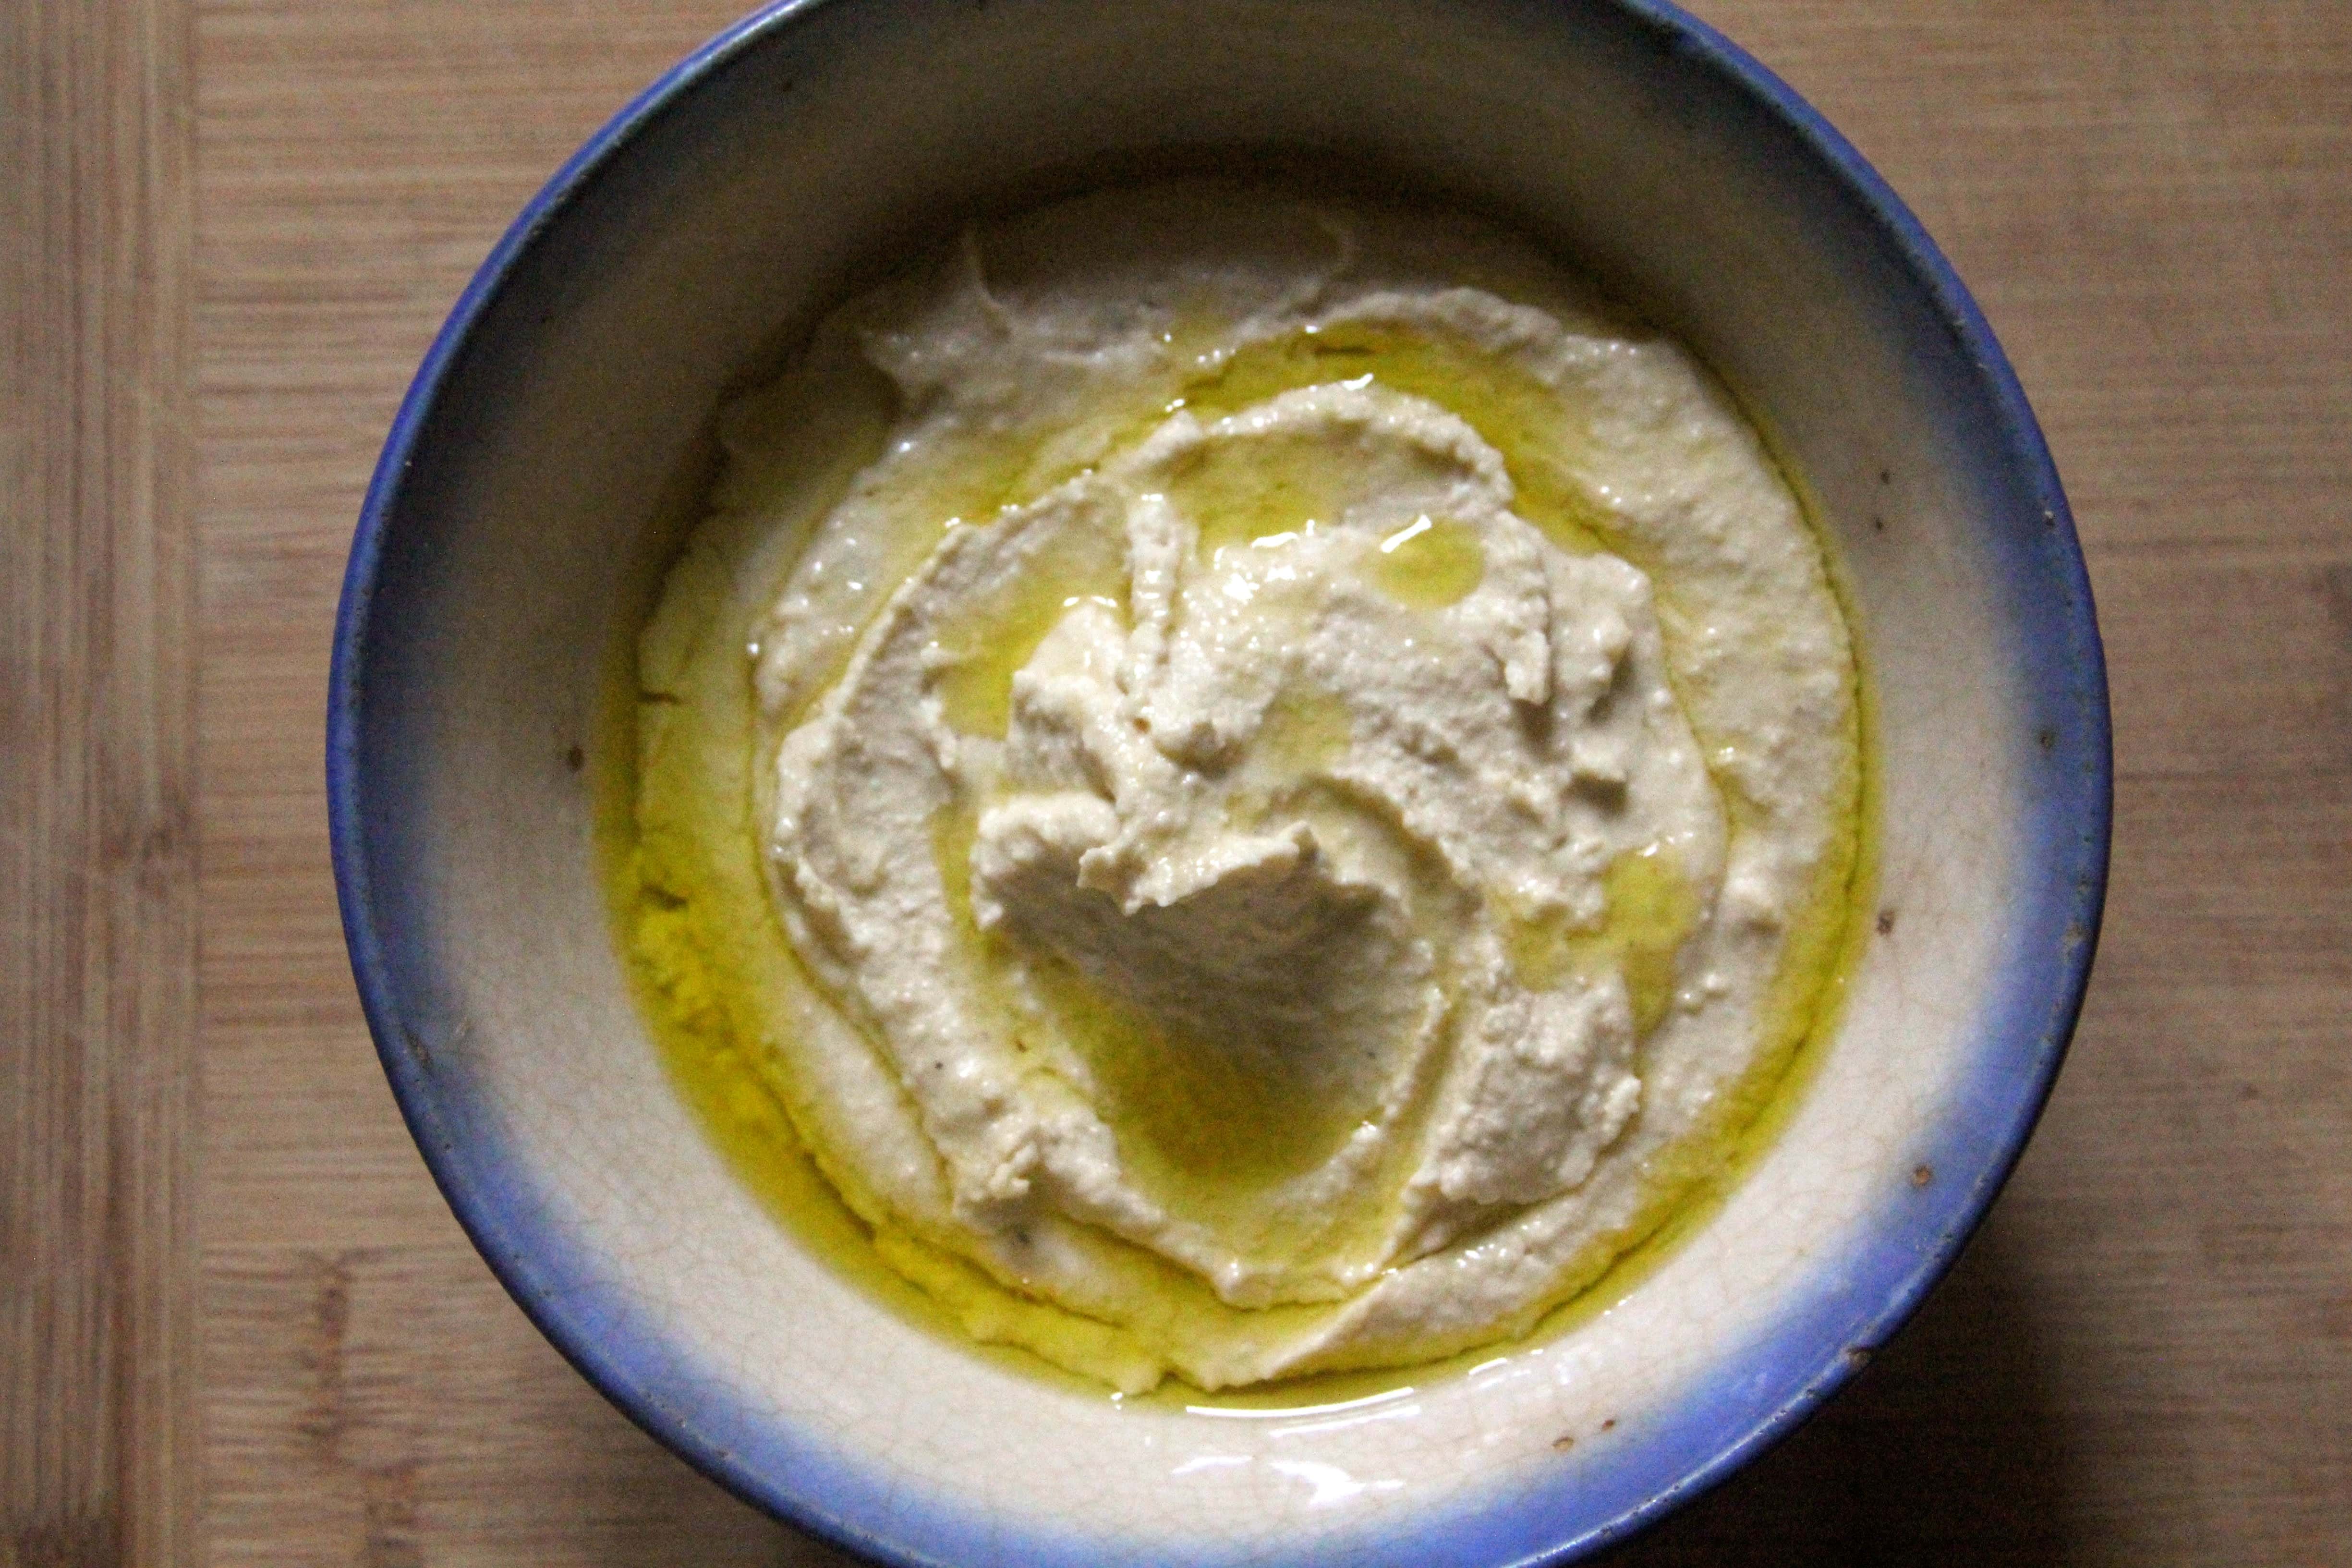
I didn’t grow up with chickpeas, so this is a dish that I’ve been introduced to through cookbook authors like those above—but really, if you’ve been living in the US for the last couple decades, then you know hummus as well as jarred salsa by now. And like salsa, it can be a revelation to taste your own homemade version of it. My most vivid, early memory of chickpeas came by way of literature, of all things: as a kid, I read all the books in the All-of-A-Kind Family series by Sydney Taylor, about a Jewish American family of five sisters growing up in New York City in the early 1900s (I identified with Henny, the mischievous, independent one). In one scene, they go to a market and one of the girls spends her penny on a cup of piping-hot chickpeas, seasoned with salt and pepper, sold by a street vendor. It sounded so good! Before then, I had only seen cold, plain chickpeas probably straight from the can in salad bars, and they didn’t look appetizing. I really needed to see (and read about) how chickpeas are prepared by the cultures that know them well in order to appreciate them.
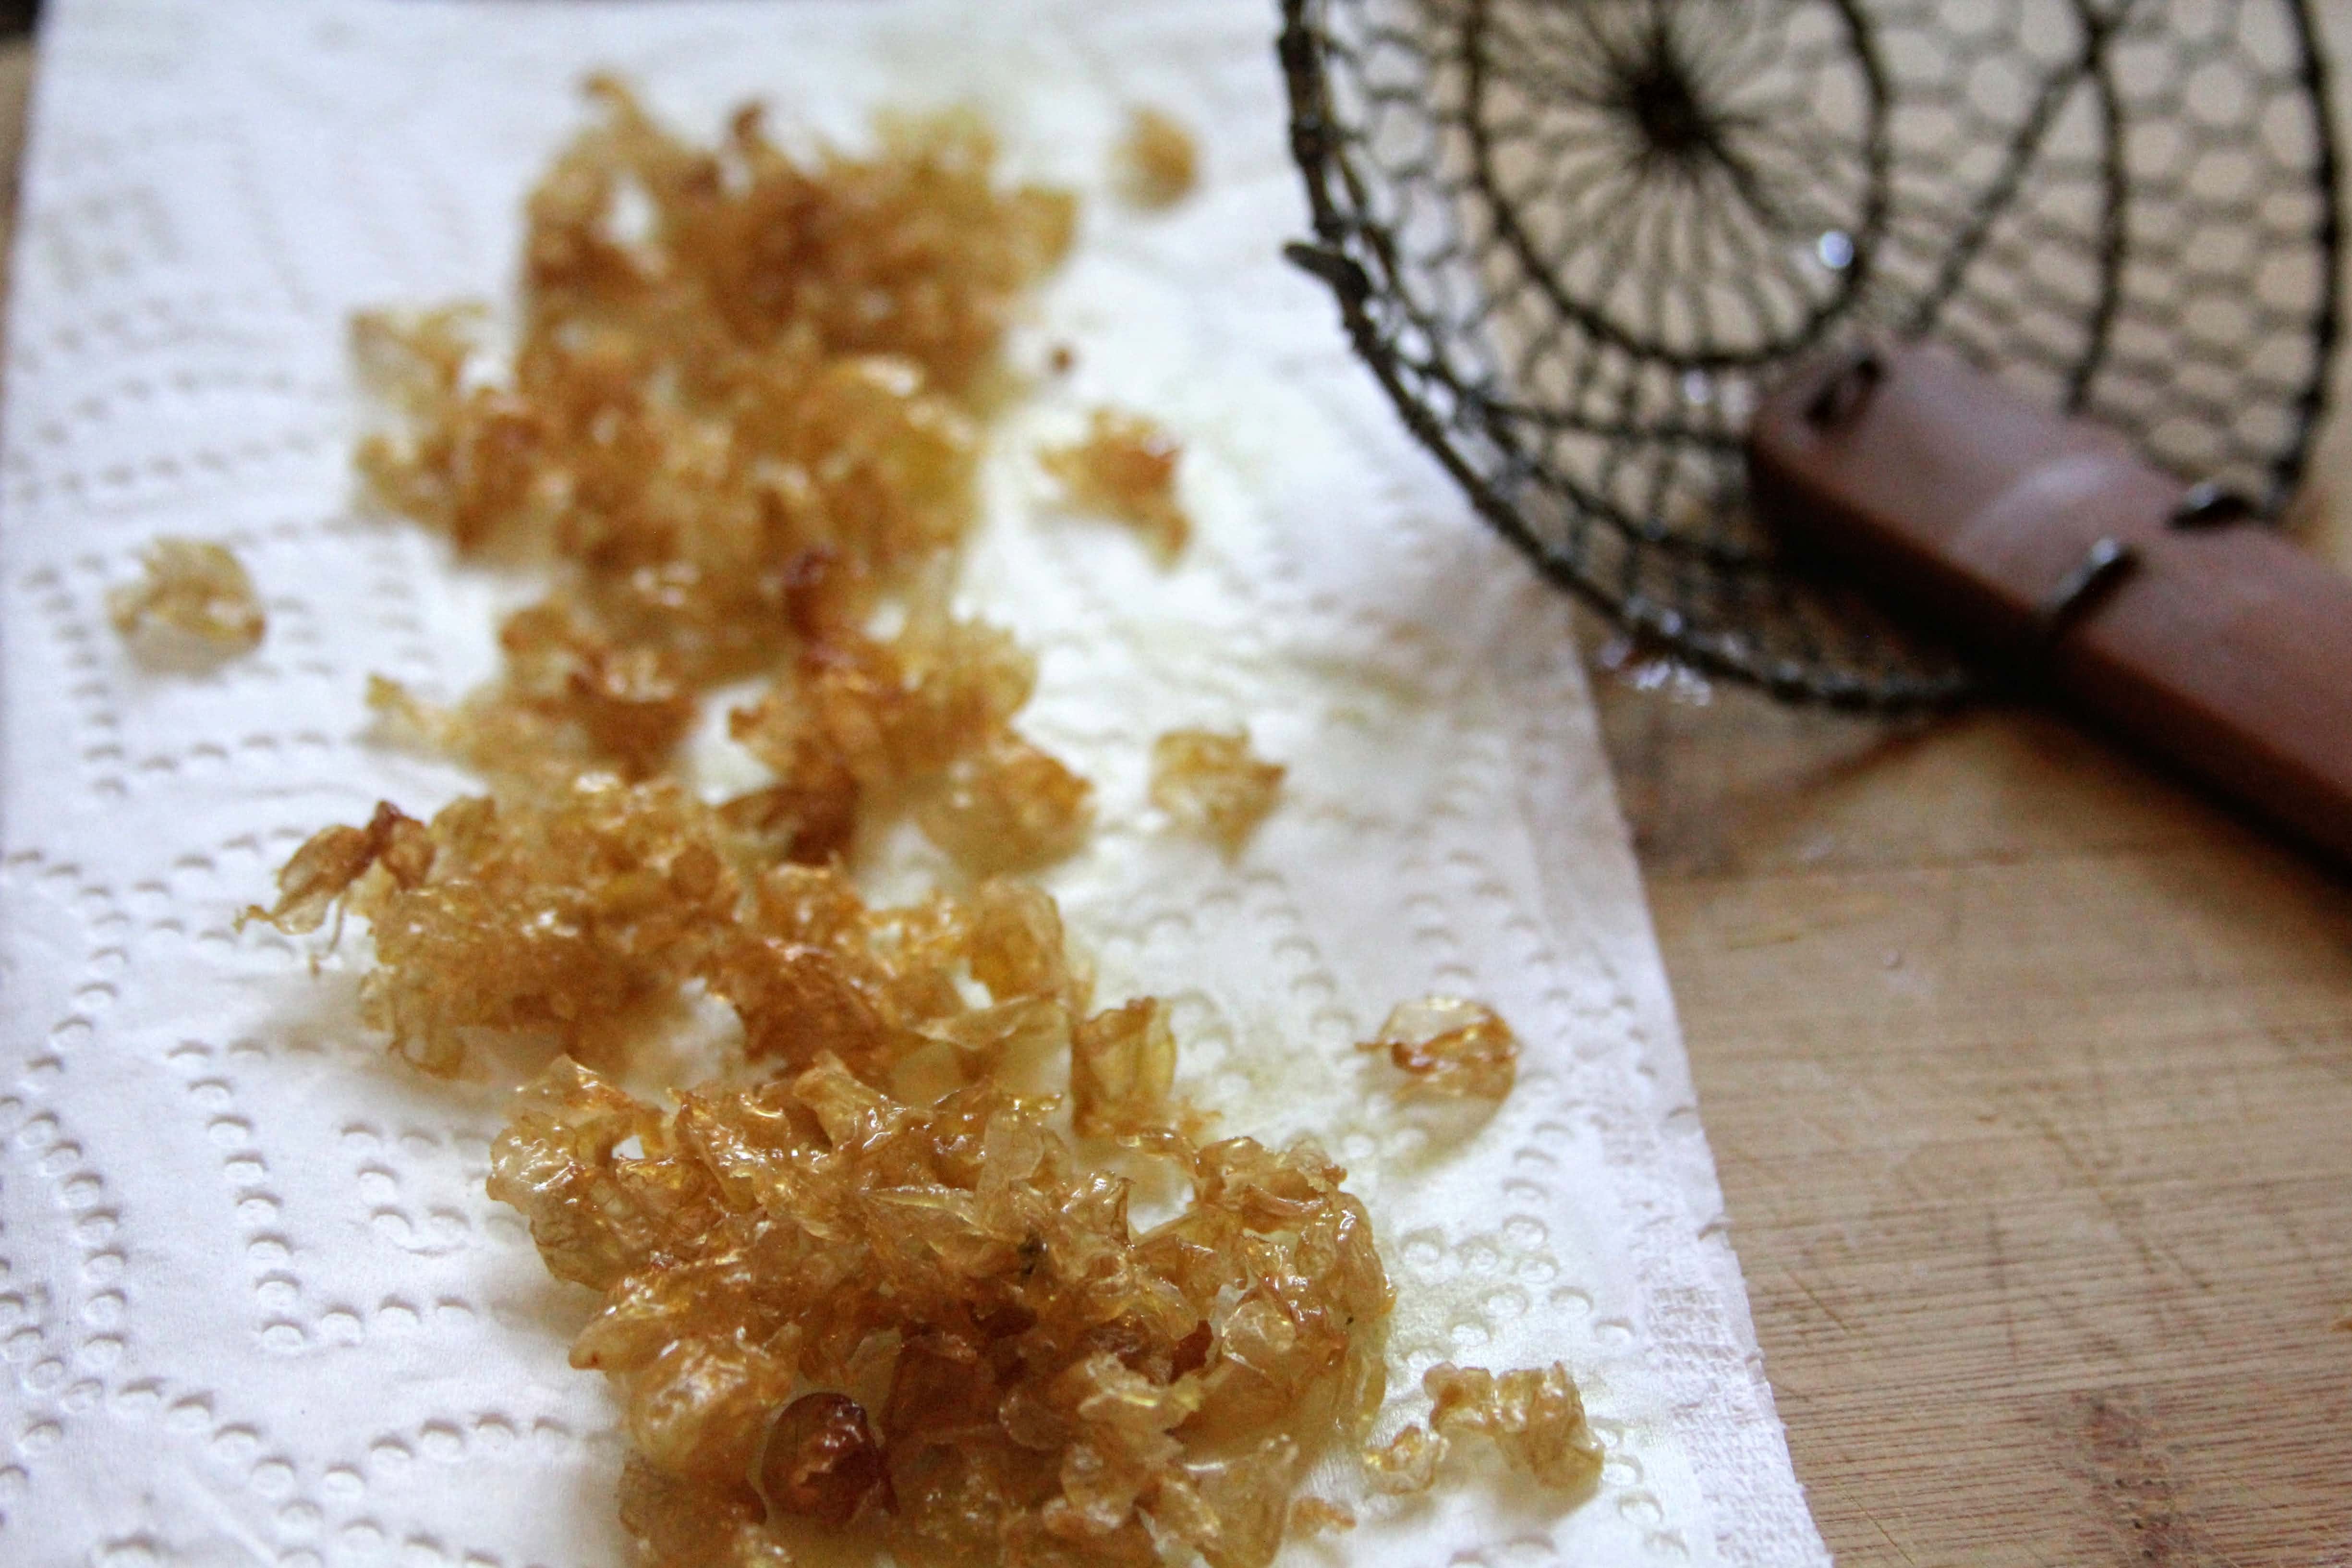
But there’s more. While I was sharing my little reverie about skinning the cooked chickpeas on Twitter, I heard a lot of responses (probably because I mistakenly called the exterior chickpea skins “foreskins”, oops!) One response came from yet another of my favorite cookbook authors and chefs—Alexandra Raij, chef-owner of renowned restaurants including Txikito and La Vara, and co-author of The Basque Book. She urged me to “Fry the skins!” like they do with fried chickpeas at La Vara, for a snack. It was like the word of god.
Fry the skins I did: I heated some olive oil, because I had bought plenty of it, and dropped a handful of the detached chickpea skins into the oil once it was hot. They splattered and puffed up like bursting popcorn kernels. After a few more moments, lifted from the oil and dusted with salt, they were browned and crisp. The perfect topping for anything—and the perfect way to use all parts of the chickpea to really showcase their unique virtues.
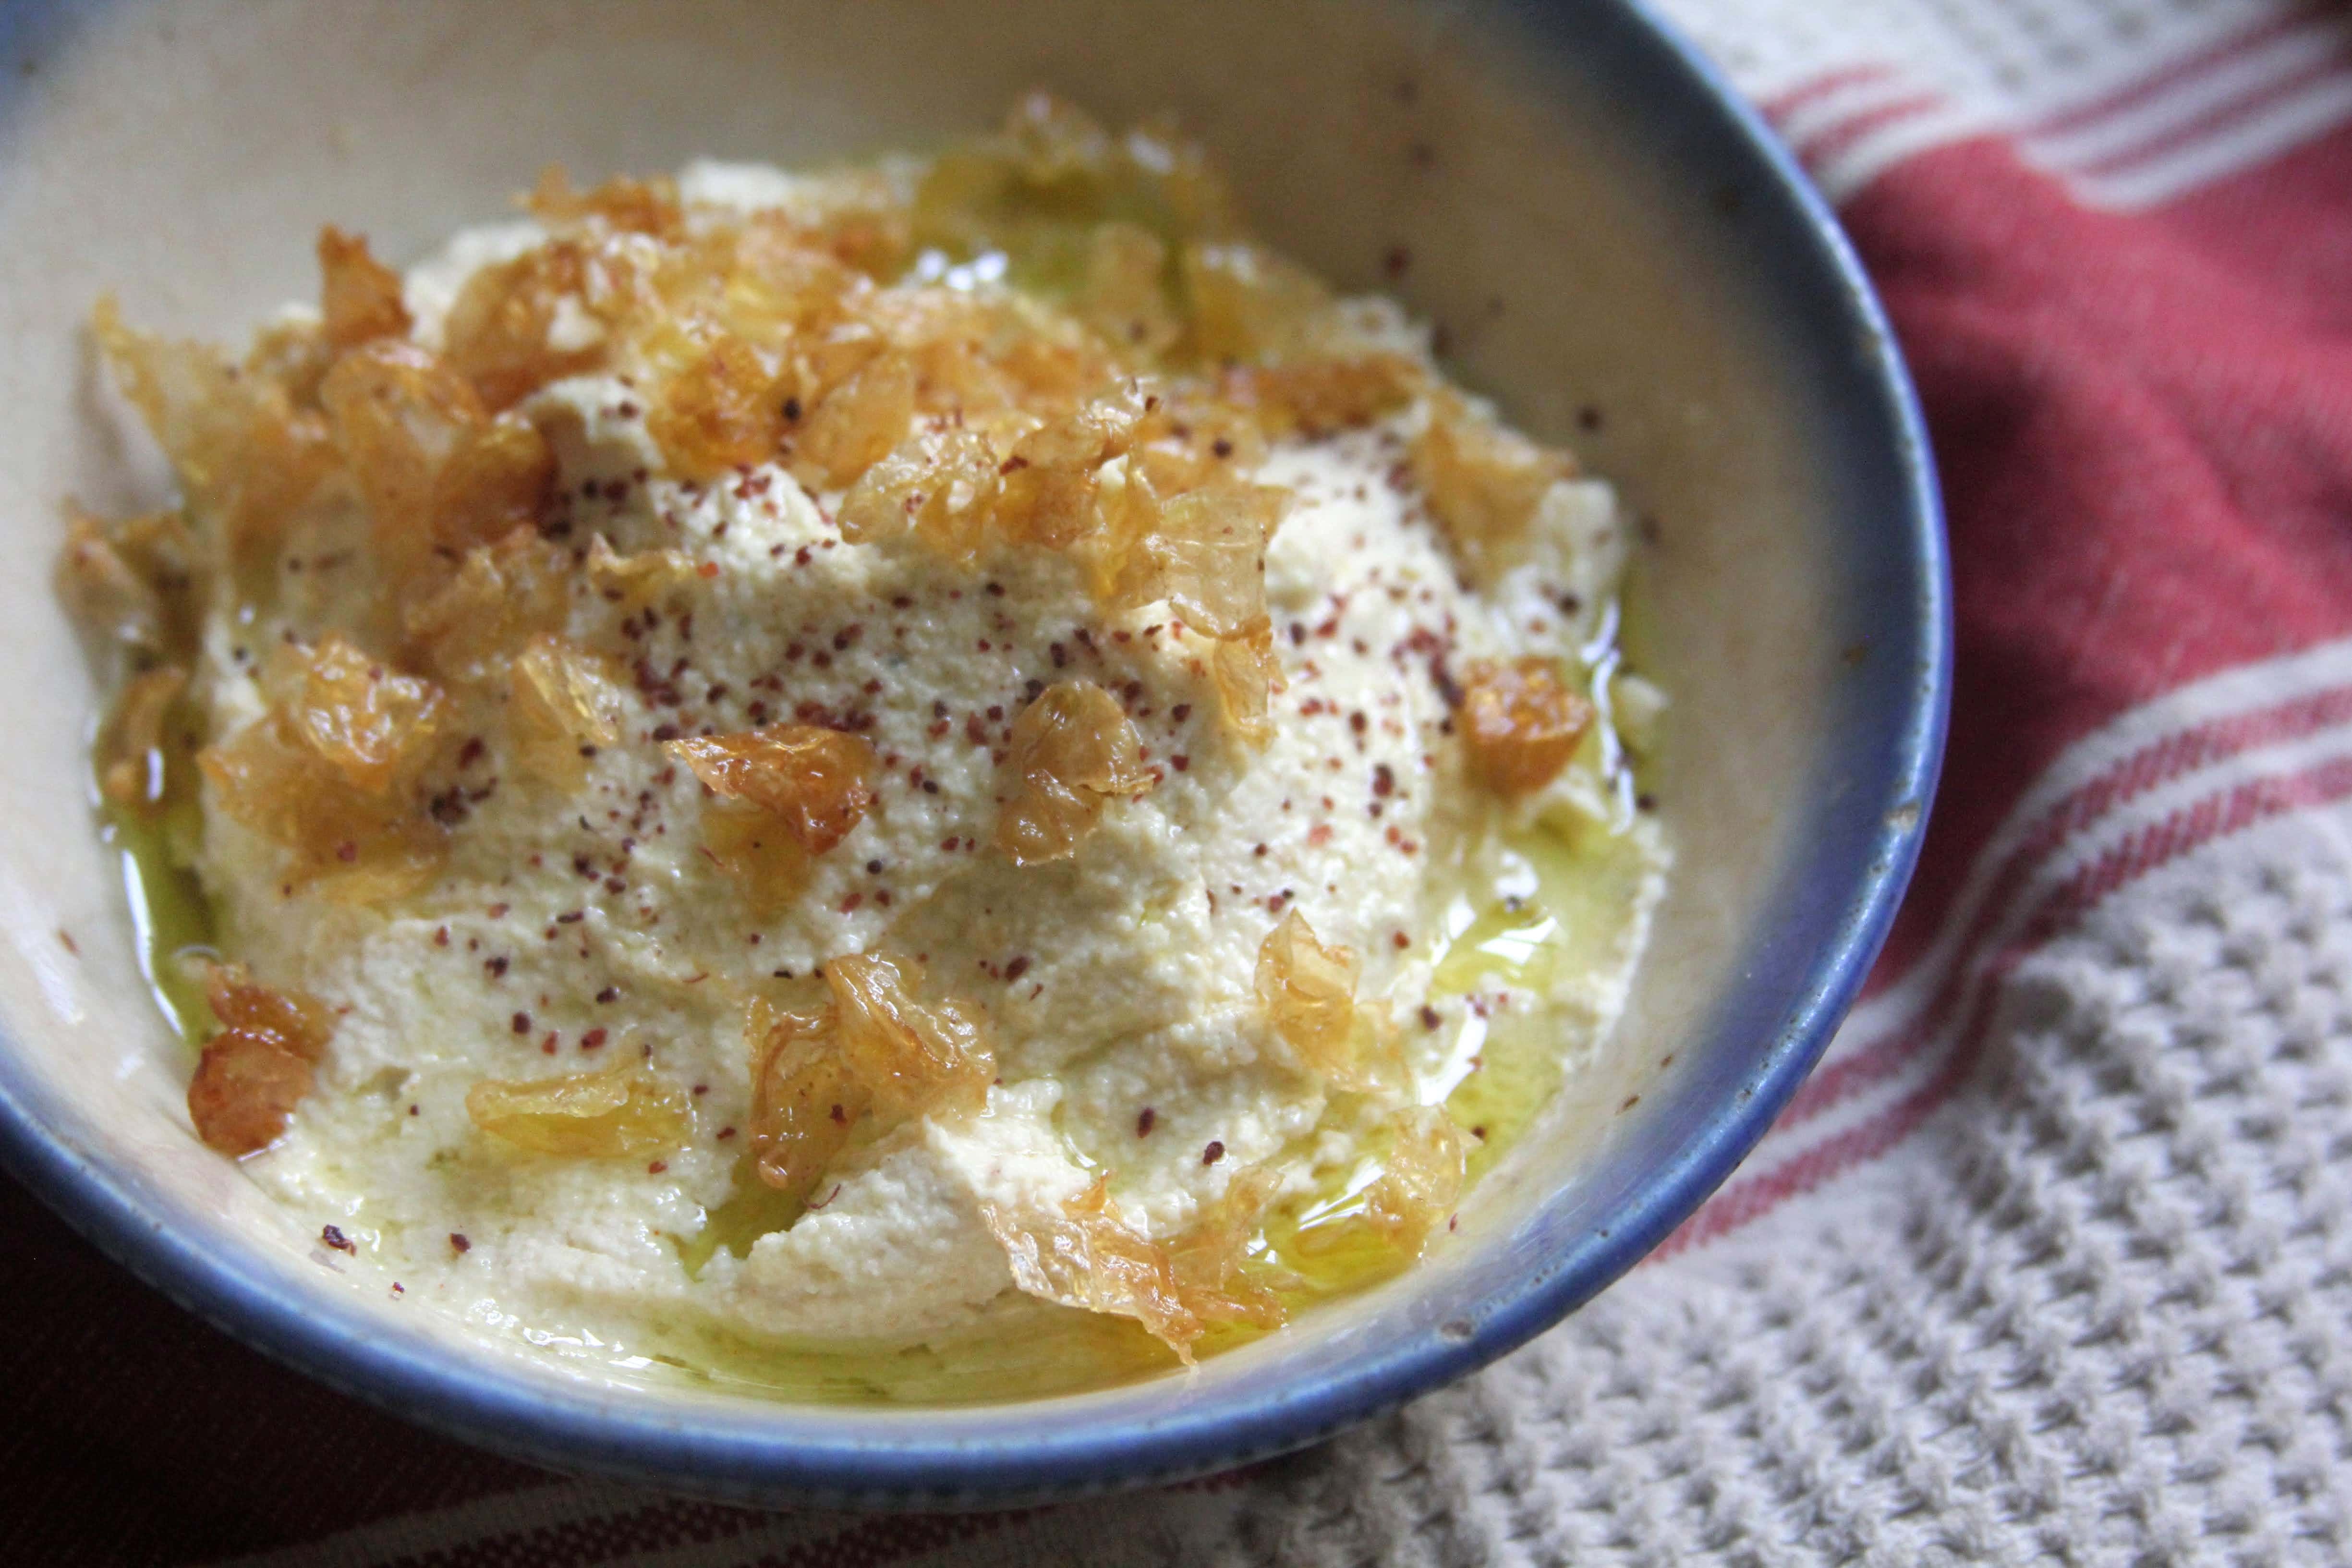
So, if only for this delightful frizzled garnish, skinning the chickpeas before blending into hummus is worth the hassle, I think. And, as some chefs and culinary experts maintain, removing the skins first results in a creamier hummus. This time, I was rewarded for doing something the long way—although sometimes, depending on my mood, the journey itself is good enough.
Homemade Hummus with Fried Chickpea Skins
(makes about 1 quart)
1 cup dried chickpeas, covered in at least 4 inches of water and left to soak overnight (or refrigerated up to 2 days ahead)
2/3 cup tahini
2 garlic cloves, minced or grated
juice of 1 lemon
1/2 teaspoon salt (or to taste)
1/4 teaspoon cumin
1/4 teaspoon cayenne pepper
1/4 cup extra-virgin olive oil
1/2 cup water (or more as desired)
sprinkle sumac (optional, for garnish)
flaky sea salt (optional, for garnish)
1 cup olive oil (for frying the skins)
Rinse the soaked chickpeas. Cover with at least 4 inches of water in a pot and bring to a boil. Reduce heat to a simmer and cook, covered, for 30 minutes, or until the peas are completely tender and the skins appear to be loosened and falling off.
Drain and let cool completely. Holding one chickpea between your thumb and forefinger, gently press until the chickpea slips out of its skin (if this doesn’t happen easily enough, you may need to cook your chickpeas longer.) Continue with the rest, reserving the skins in a separate bowl from the skinned chickpeas.
In a food processor, combine the chickpeas, tahini, garlic, juice of half the lemon, salt, cumin and cayenne. Pulse several times, stopping to scrape down the sides of the bowl. Drizzle in the olive oil while pulsing or blending. Add the 1/2 cup of water while blending. Taste for seasoning, and add as much of the lemon juice as desired, more salt if desired, or more water to create a thinner consistency, if desired.
To fry the skins, heat the 1 cup of olive oil in a small pot over a high flame. Test the oil by dropping in one skin; if it immediately frizzles up, go ahead and add a handful of them. Let them sizzle for about 30 seconds, or until golden-brown. Lift immediately with a slotted spoon and transfer to drain. Repeat with the remaining skins, working in batches so as not to overcrowd the pot. Sprinkle the fried skins with salt.
To serve the hummus, transfer to a bowl. Drizzle the top with some extra olive oil, the optional flaky sea salt and sumac. Top with the fried skins and enjoy.
Cost Calculator
(for about 1 quart hummus)
1 cup or 8 oz dried chickpeas (at $2/1 lb bag): $1.00
2/3 cup tahini (at $6/jar): $2.00
1 lemon: $0.50
1 1/4 cups olive oil: $2.00
2 cloves garlic: $0.10
salt, cumin, cayenne: $0.10
Total: $5.70
Health Factor![]()
![]()
![]()
Three brownie points: Rich in protein, fiber and totally plant-based, it’s no wonder hummus has enjoyed such popularity around the world. Good enough to star in a meal rather than be eaten as a snack, there are plentiful benefits, from digestive health to heart health.
Green Factor![]()
![]()
![]()
![]()
![]()
![]()
![]()
![]()
Eight maple leaves: This can be made almost entirely from pantry staples, save for the fresh garlic and lemon to enliven them. That and the fact that they’re all made from plants makes this a very low-carbon footprint dish, which you can make easily any time of year.