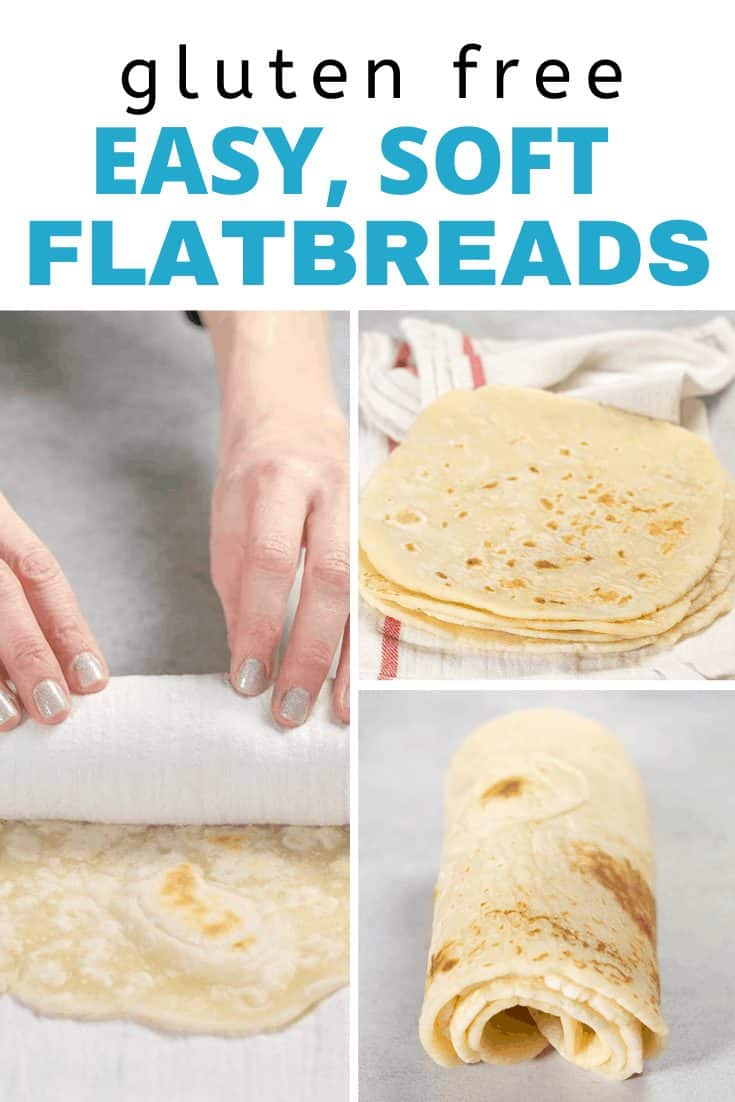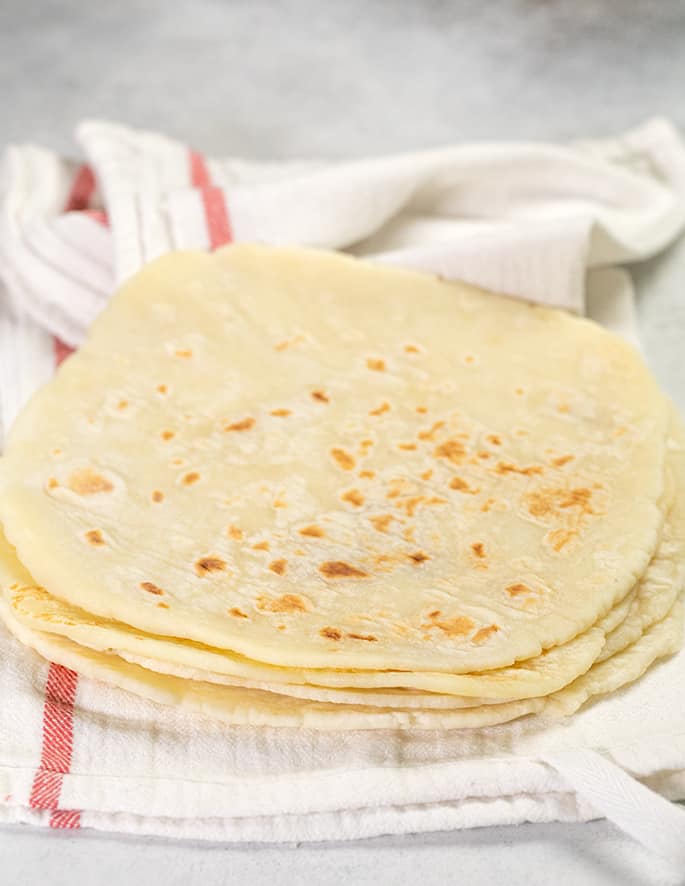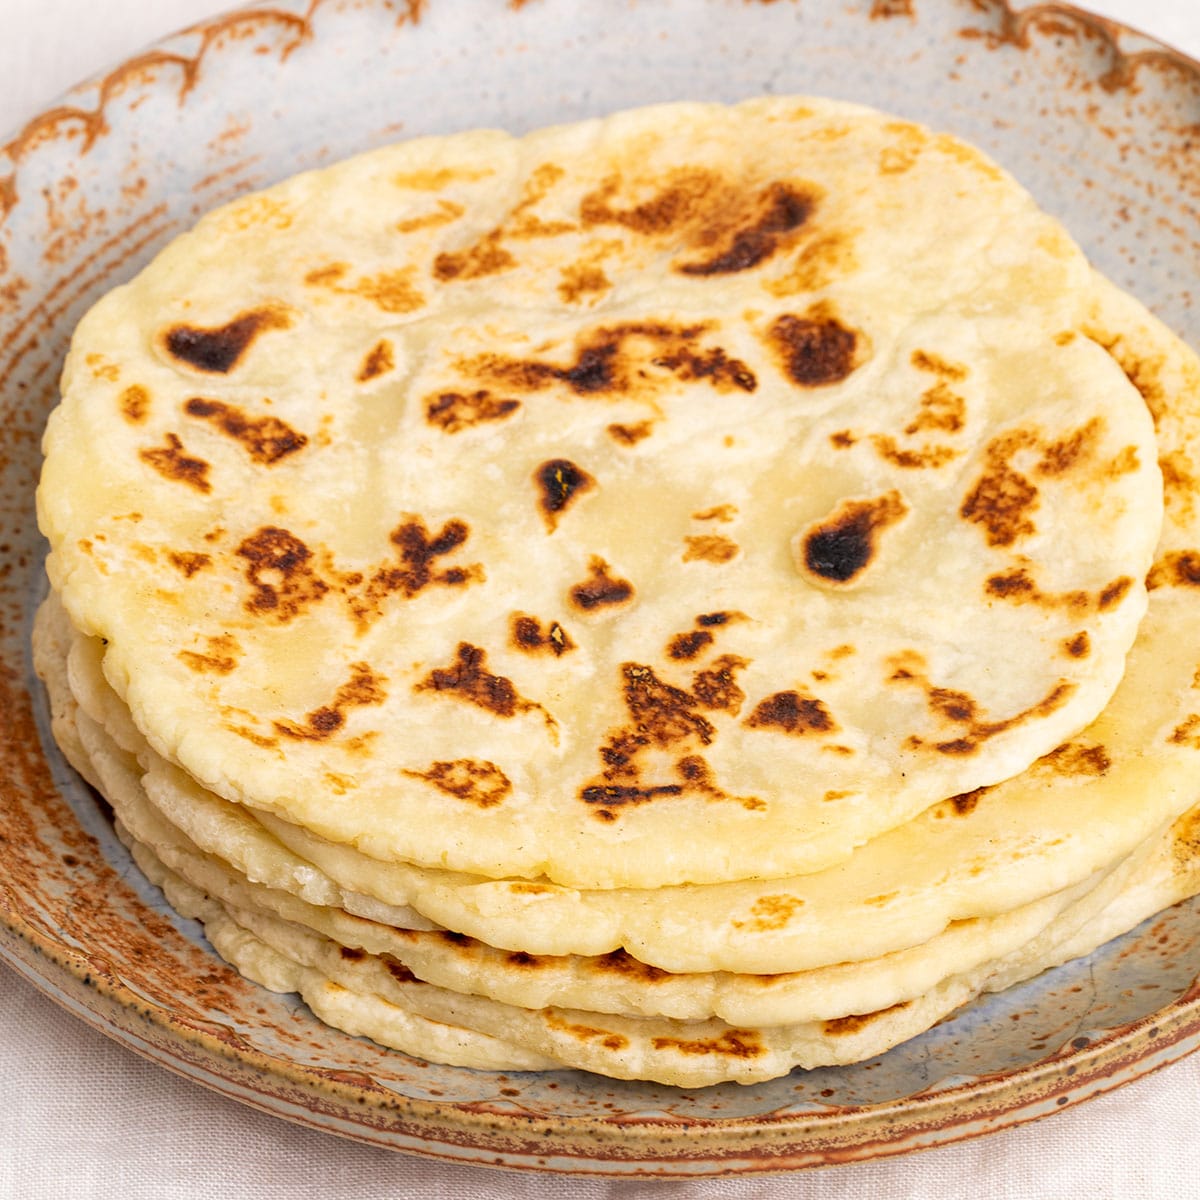
This gluten free flatbread is soft, tender, and flexible. Perfect for wraps, burritos, and miniature pizzas, and bends without breaking!
Jump to Recipe

This recipe for soft gluten free flatbread is perfect for wraps and miniature pizzas, and is made with just 5 common pantry ingredients—plus salt. If you use plant-based milk, it’s vegan!
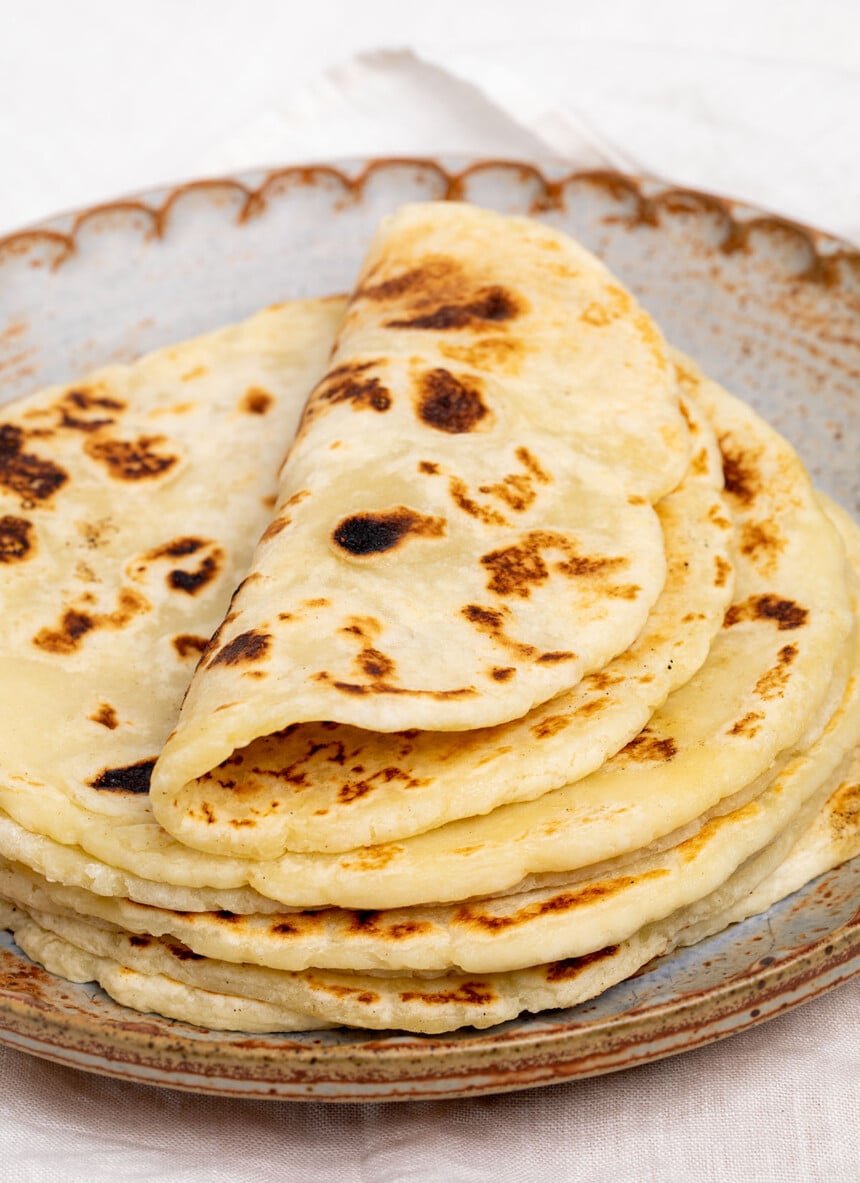
What makes this gluten free flatbread recipe so special?
When you begin with a good recipe (my job!), use proper ingredients (our job!) and measure by weight (your job!), you will have success in gluten free baking. I don’t ever publish a gluten free recipe on the blog or anywhere else unless I’ve made it successfully as written, multiple times.
Their primary purpose is for wraps, both warm and cold. Think: turkey sandwiches, perfect for lunchboxes everywhere.
These soft gluten free flatbreads aren’t tortillas, naan, or pizza dough. But they can be used to make burritos, gyros, and miniature pizzas, too.
They also don’t call for yeast, or eggs, or anything fussy. But, like all of my recipes, they are specific. If you’re willing to come along with me, this recipe might just change the way you think of gluten free bread.
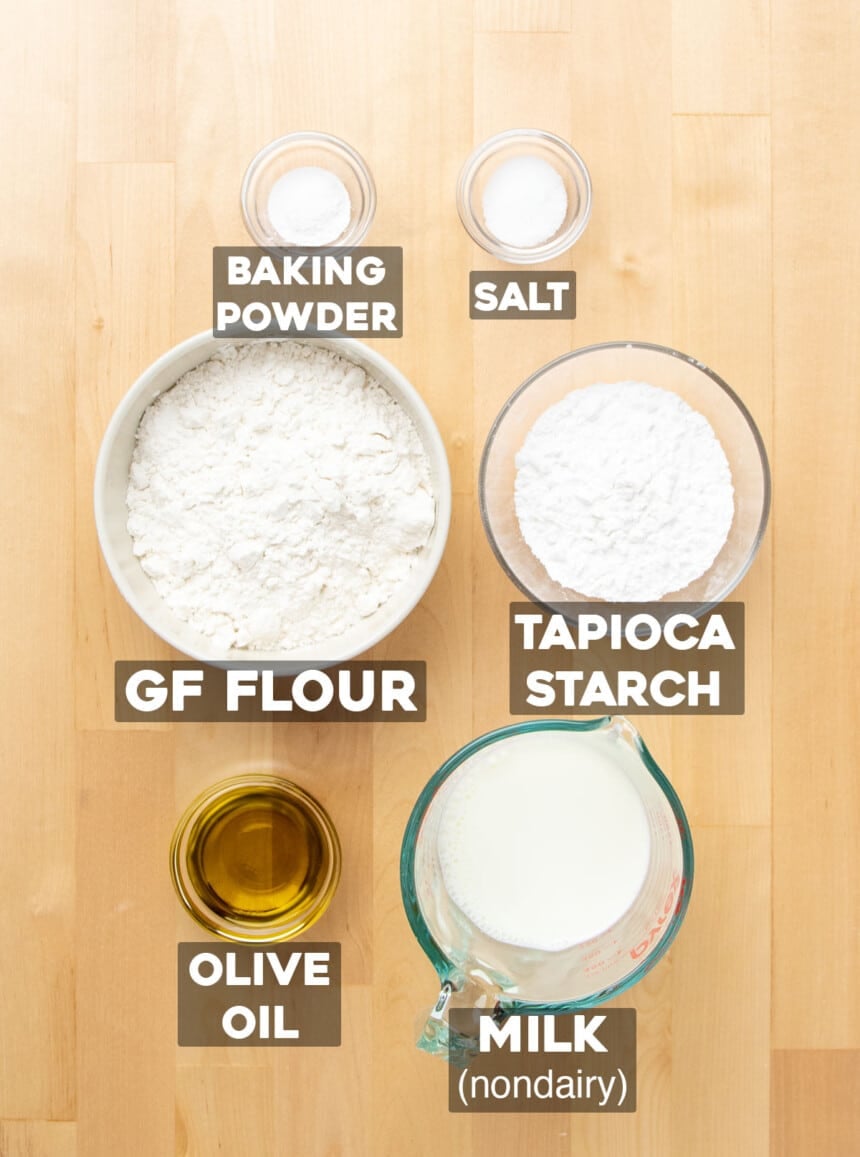
Key ingredients
- Gluten free flour blend: The base of this recipe is a high quality all purpose gluten free flour blend like Better Batter, Cup4Cup, or Nicole’s Best. If your blend doesn’t already have xanthan gum, be sure to add it.
- Tapioca starch/flour: Helps create more of a stretchy, pliable flatbread than just an all purpose gf flour blend alone.
- Baking powder: Just a little bit helps create those bubbles that form on the bread.
- Salt: Makes them so much more flavorful.
- Olive oil: Adds flavor, richness, and tenderness.
- Milk: For vegan flatbread, be sure to use an unsweetened nondairy milk here and avoid anything nonfat. We want to add some richness to the bread. If you’re not dairy free, use regular 2% or whole milk.
Make it better with tapioca starch/flour
This recipe calls for two types of gluten free flours. One is a well-balanced all purpose gluten free flour blend. I used Better Batter, but Cup4Cup is fine or one of my mock versions of those; please follow the link in the recipe for details).
The other flour is a single ingredient, but it makes all the difference. The flour blend contains tapioca starch as an ingredient. But this recipe calls for extra tapioca starch/flour.
Can I omit the tapioca starch/flour?
In a word: no. You must use tapioca starch as an additional ingredient without substitution for the results you see in the photos and described in this post.
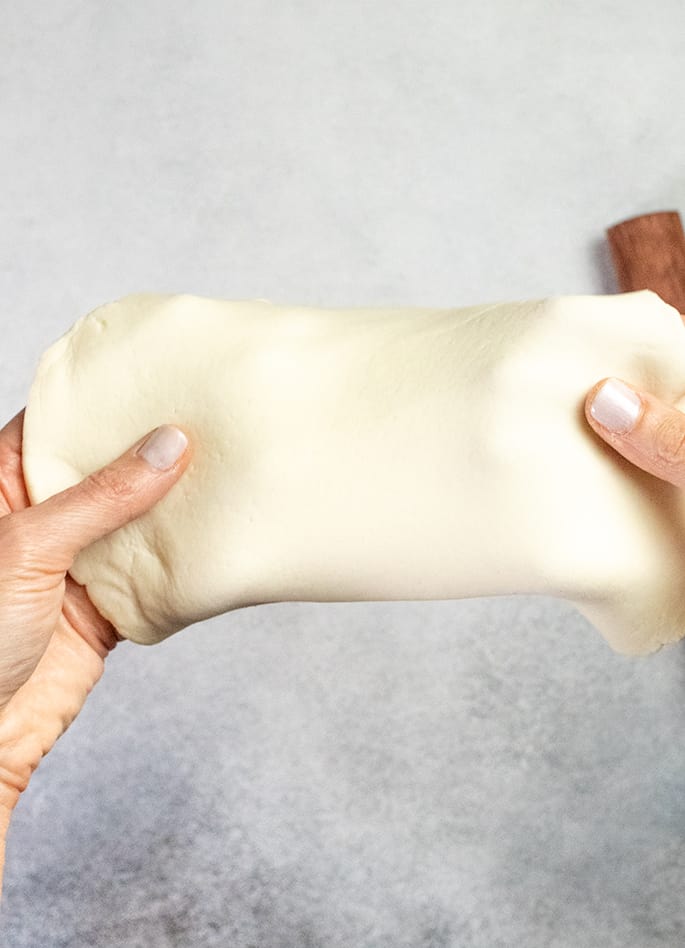
The additional tapioca makes it much easier to work with the raw dough, makes the cooked flatbreads delightfully chewy, and helps them bend. Yes, your all purpose gluten free flour blend already contains tapioca starch/flour. This is more.
How to make gluten free flatbread
The recipe card at the bottom of the post has all of the specific amounts of each ingredient, so please scroll down to make the recipe. The images below paint an overall picture of how to make this recipe. I’ve doubled the recipe to make 4 flatbreads for these photos, since it’s easier to view the ingredients well in larger amounts. To do the same, just change the yield in the recipe card from 2 to 4.
Make the raw dough
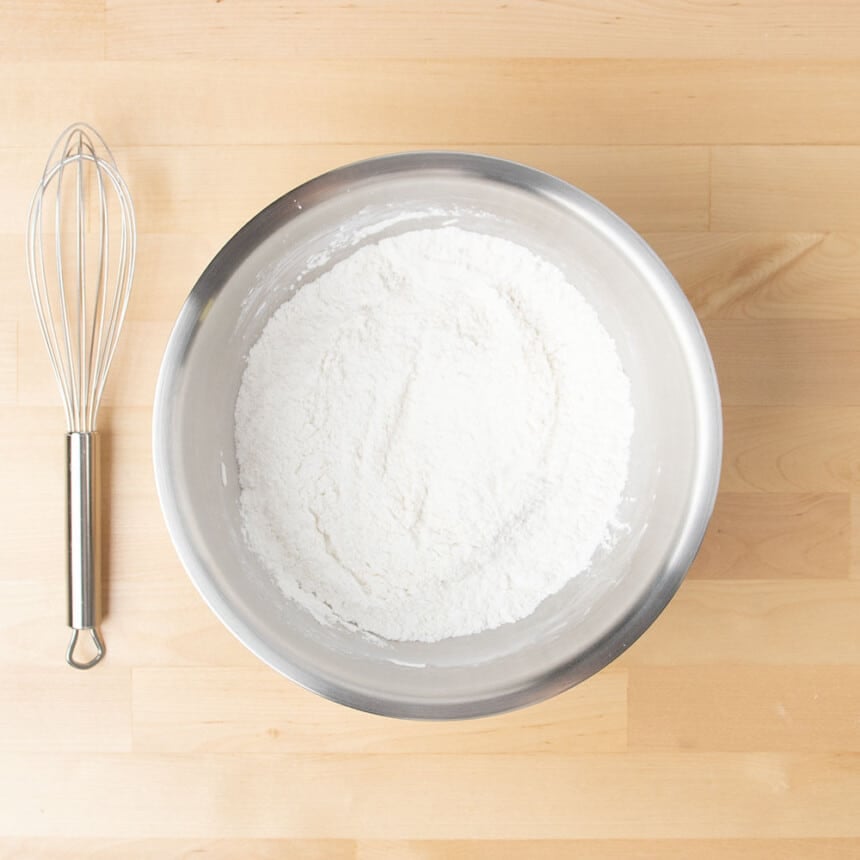
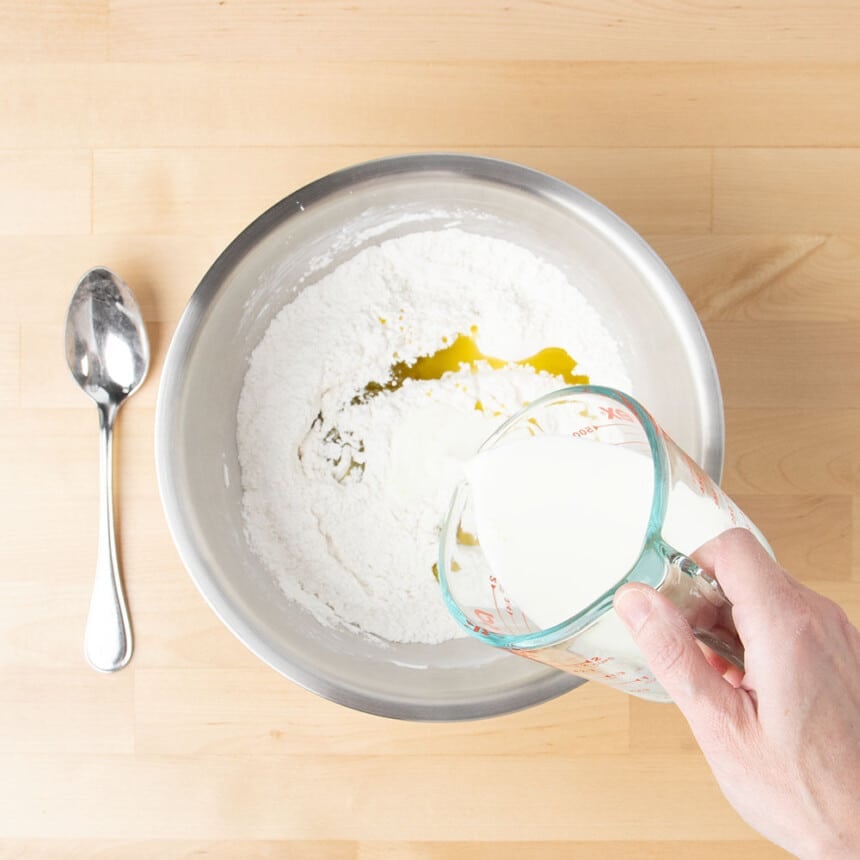
- Whisk together the dry ingredients (flour blend, tapioca starch, baking powder, salt) in a large mixing bowl.
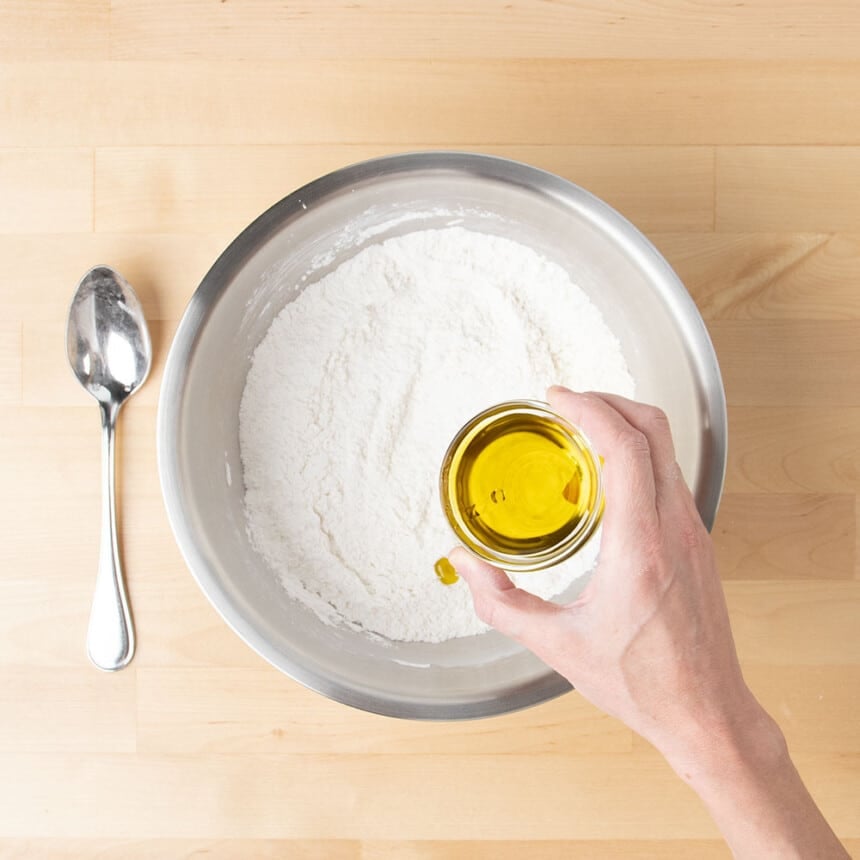
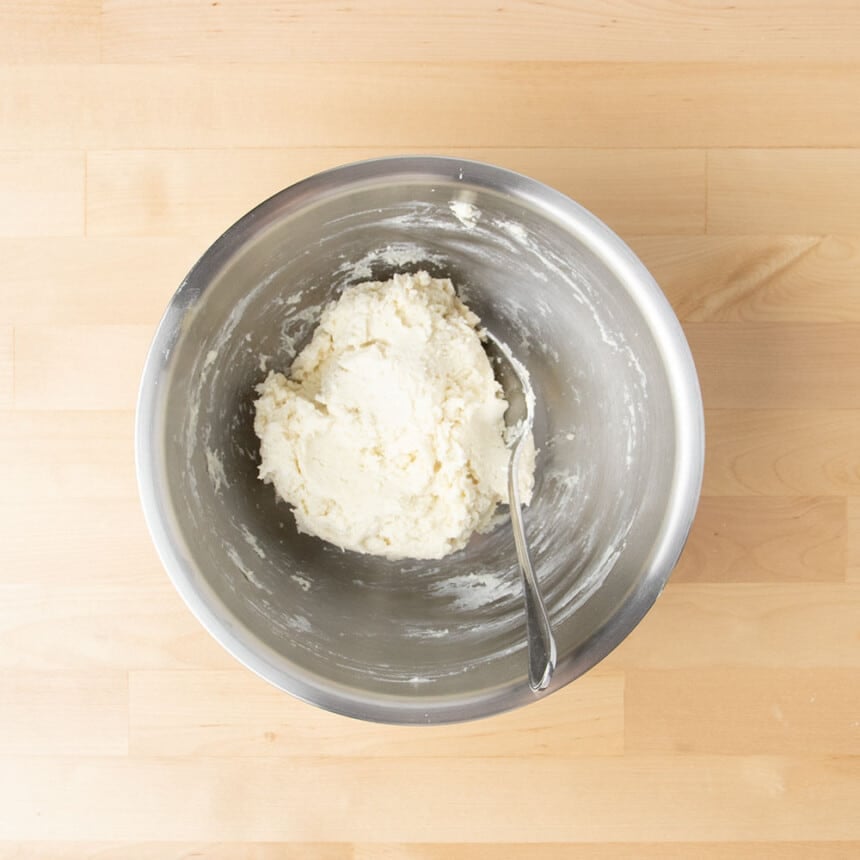
- Add olive oil and milk, and mix to combine.
- It will seem like there is too much liquid at first, but give the flours a chance to absorb it and the dough will come together.
Divide the dough, chill, and shape
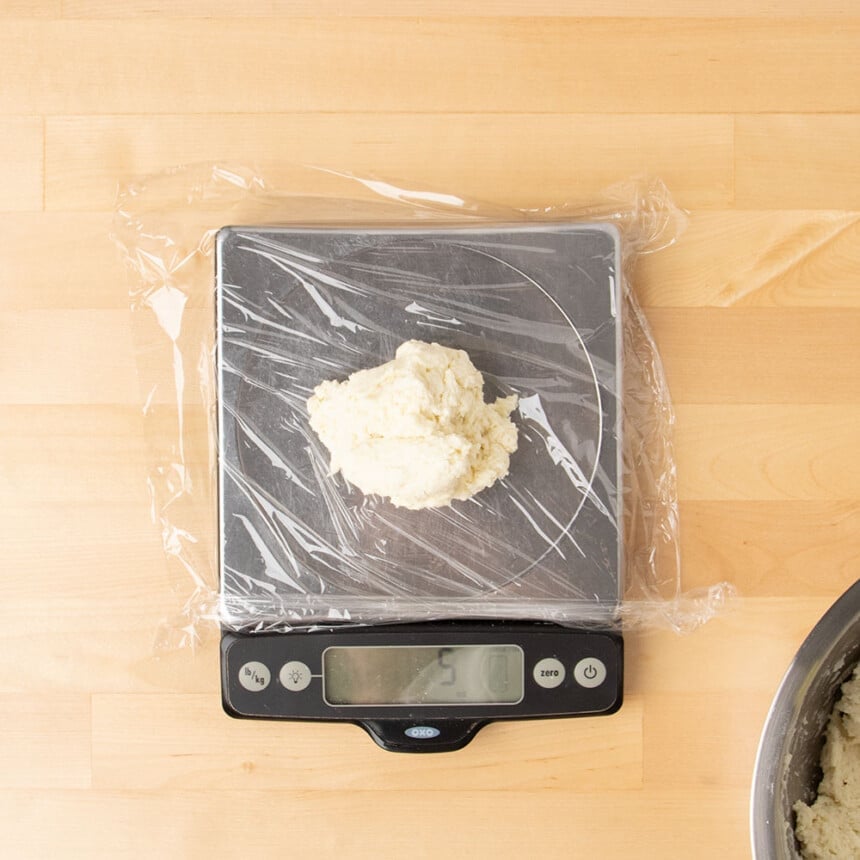
- Divide the dough into equal portions, about 5 ounces each.
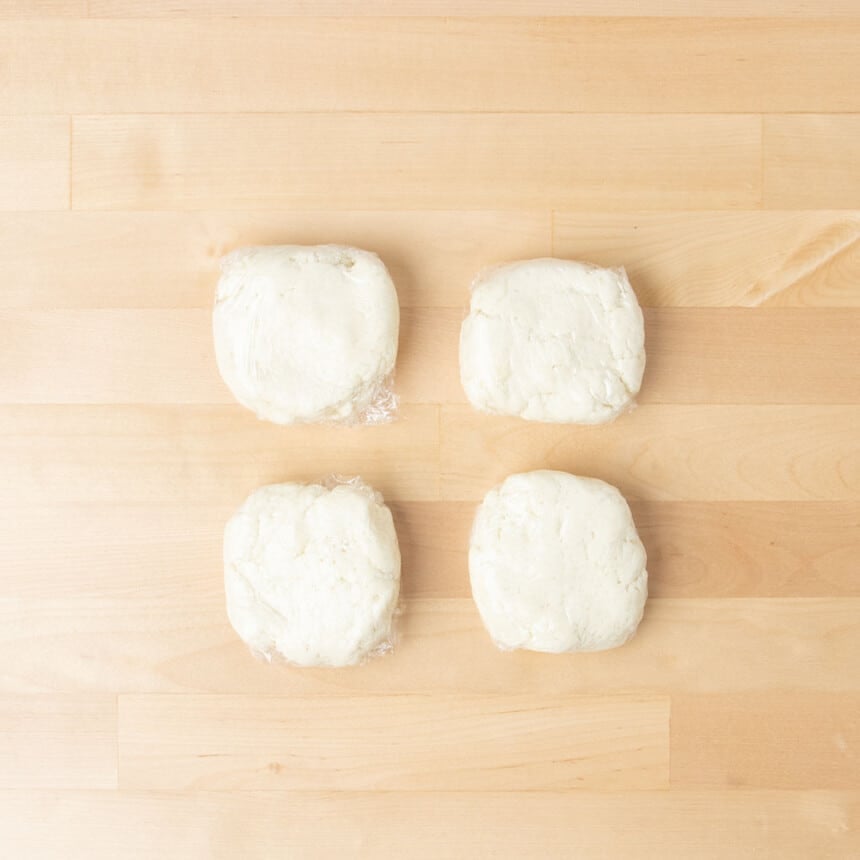
- Wrap each portion tightly in plastic wrap.
- If you have time, chill the dough for 30 minutes in the refrigerator to make it easier to handle.
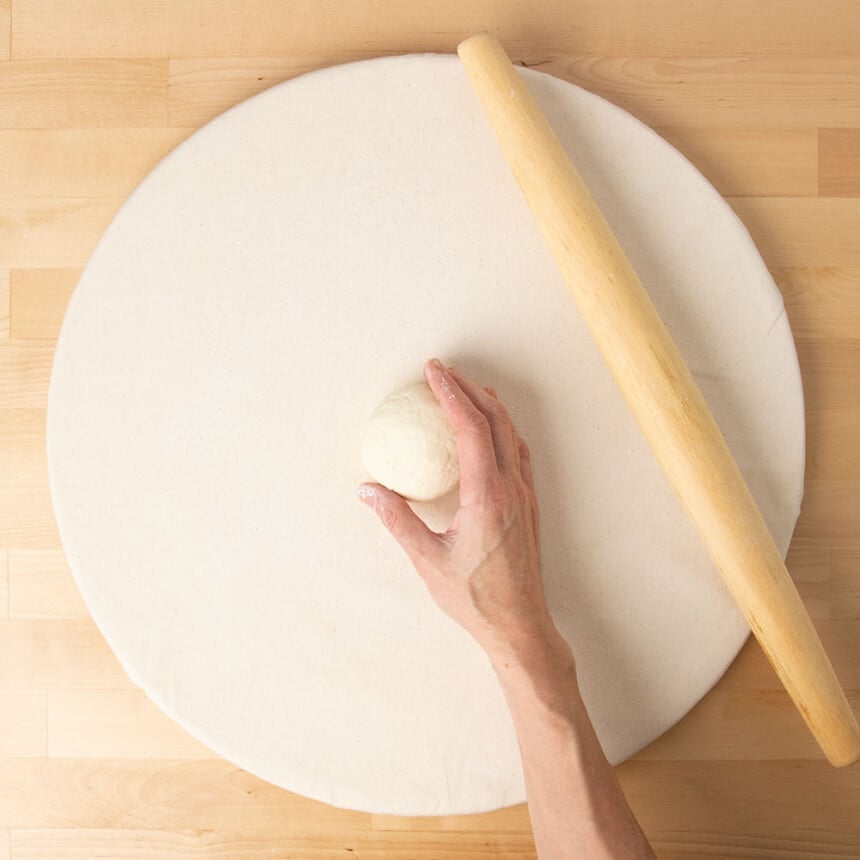
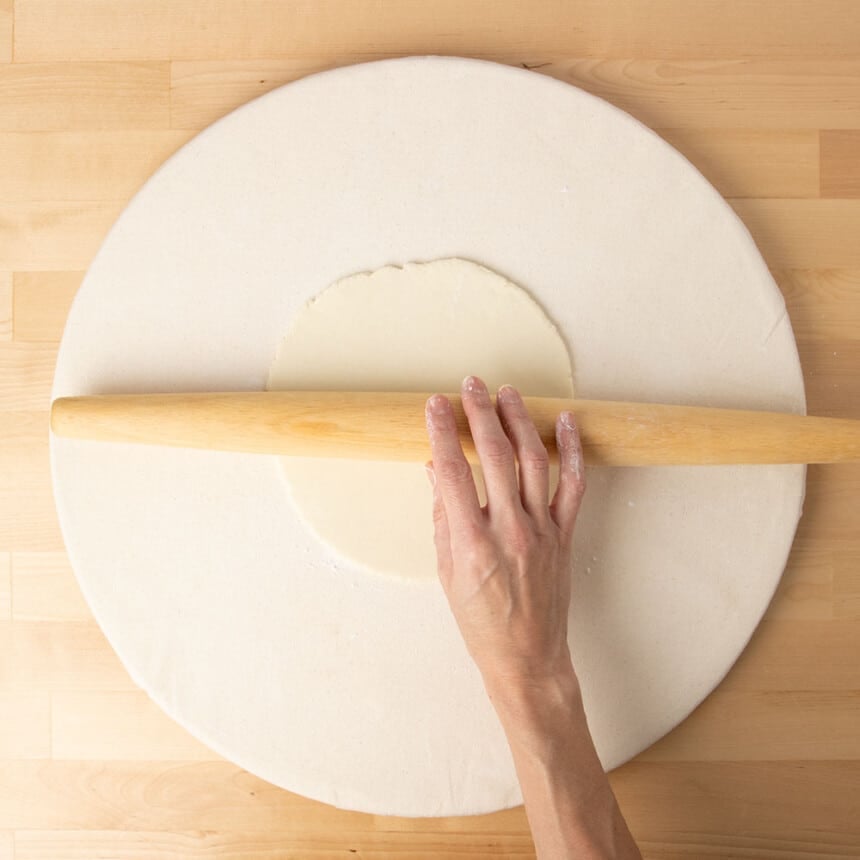
- Sprinkle each chilled piece of dough lightly with more flour, roll out once to smooth the dough, then shape into a round and reroll to about 8-inchs in diameter.
Cook the flatbread in a hot skillet
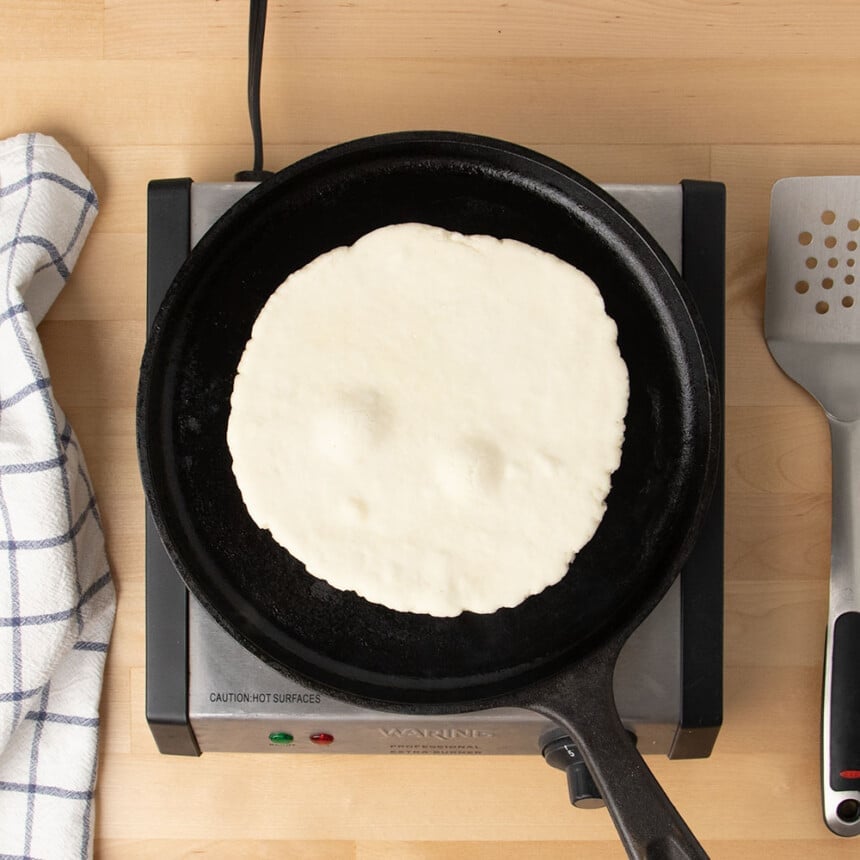
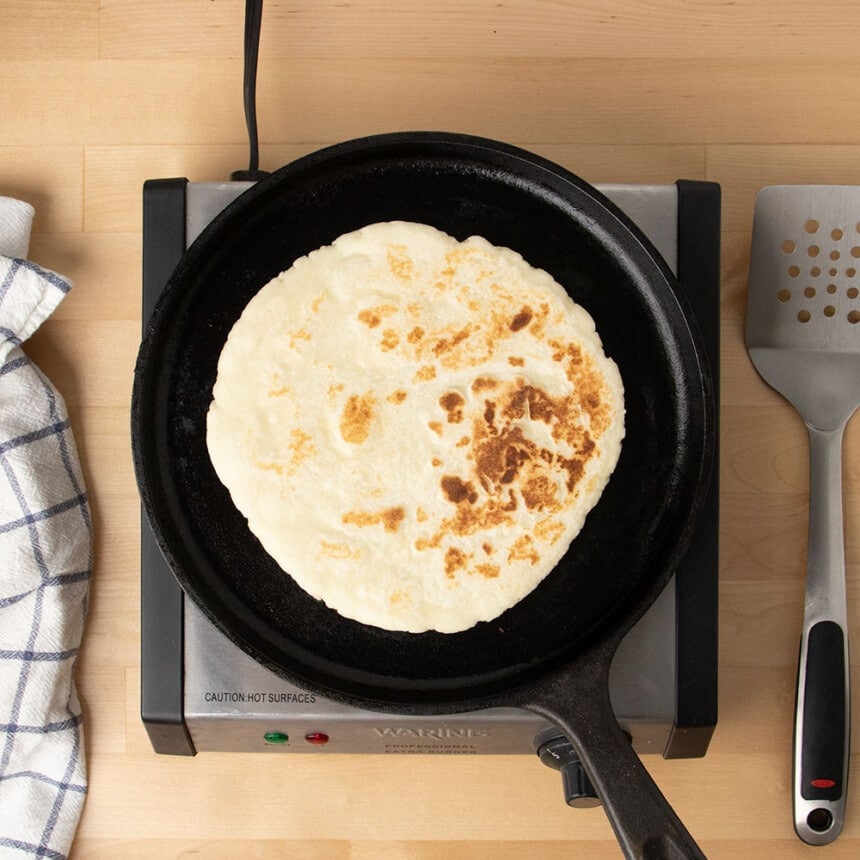
- Heat a greased skillet and place the first shaped raw flatbread on it.
- Let cook for 1 minutes.
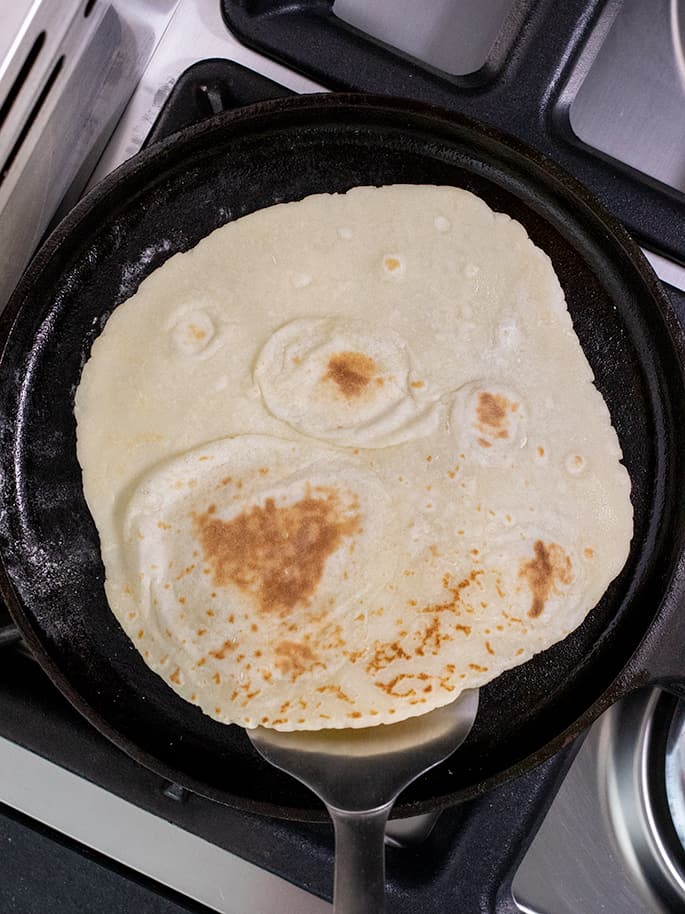
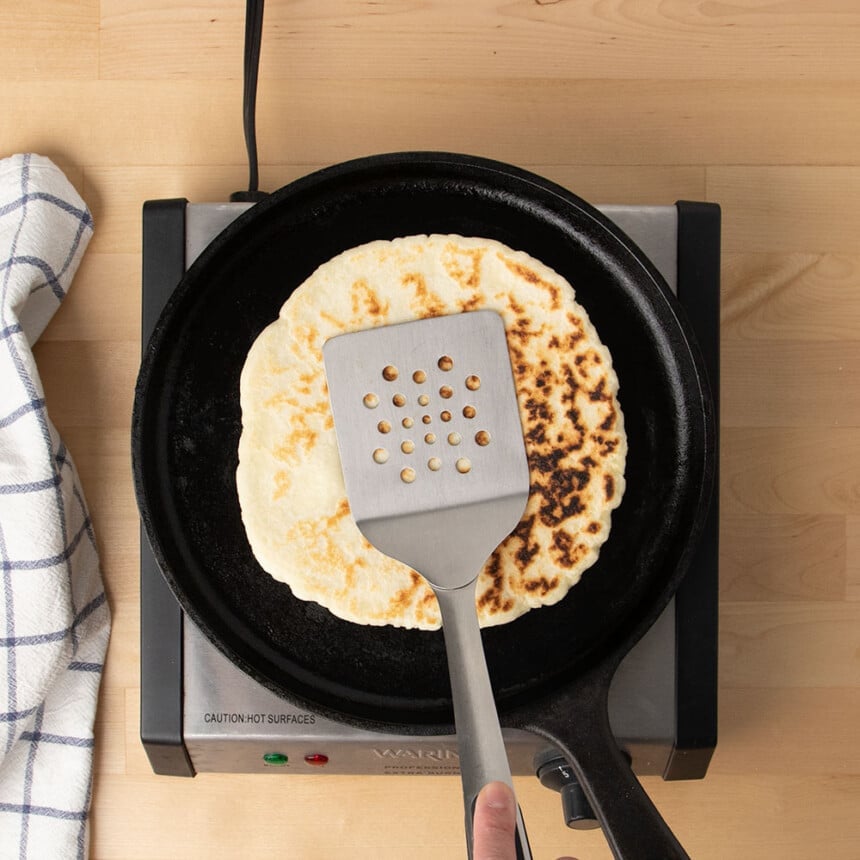
- Flip, and cook on the second side, pressing down on the bread to make sure it makes good contact with the skillet. Flip again, and cook until nothing glistens, like it’s wet.
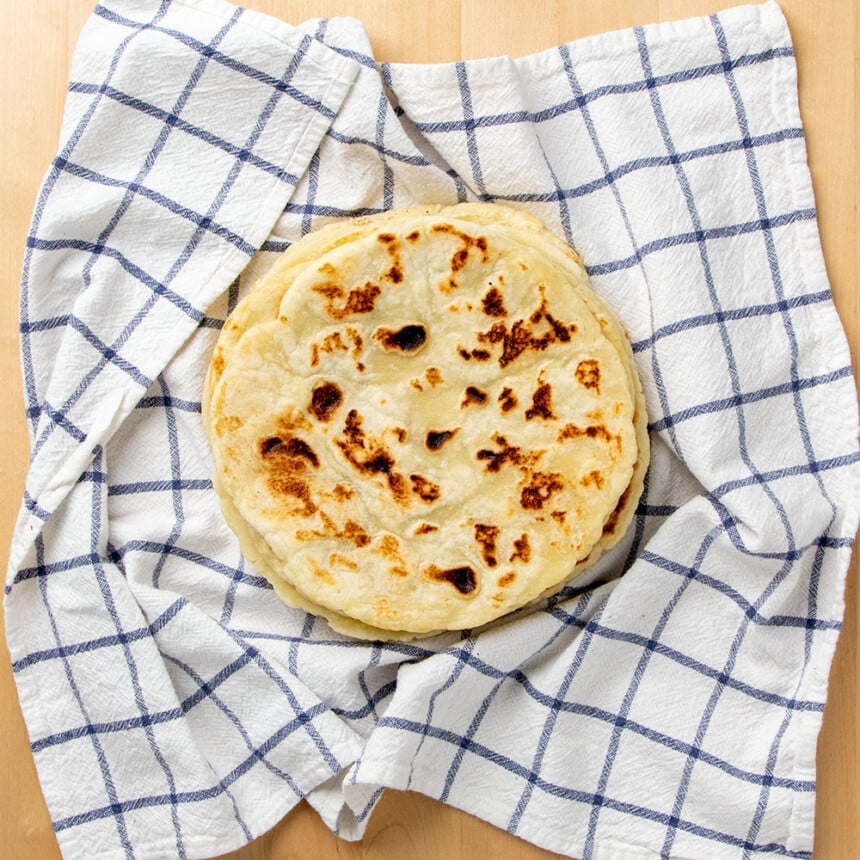
- Wrap the cooked flatbread in a tea towel to keep it warm.
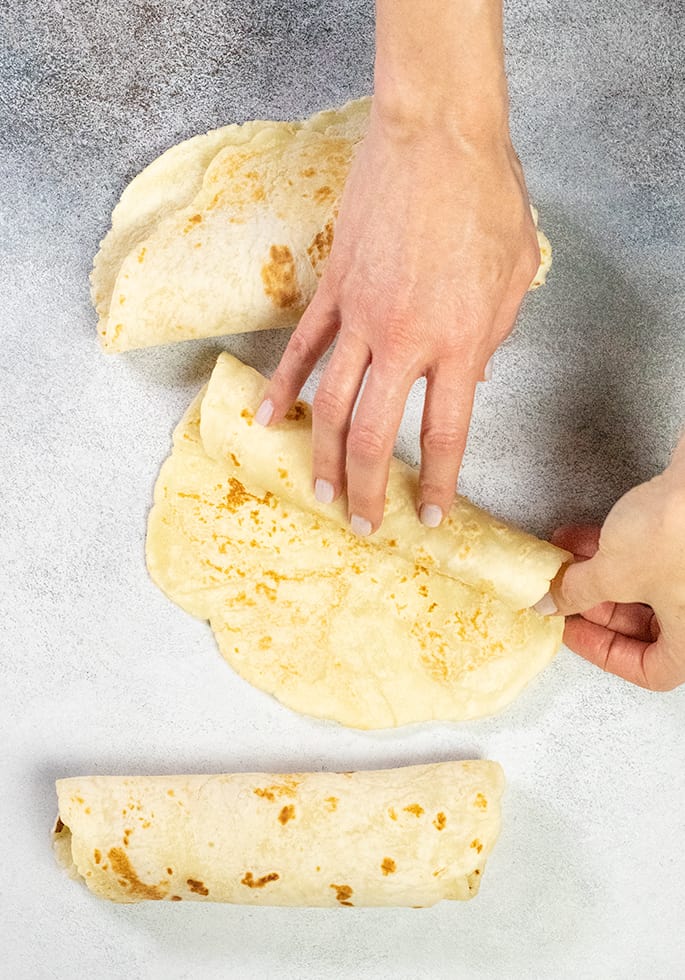
Why we roll the warm soft gluten free flatbread
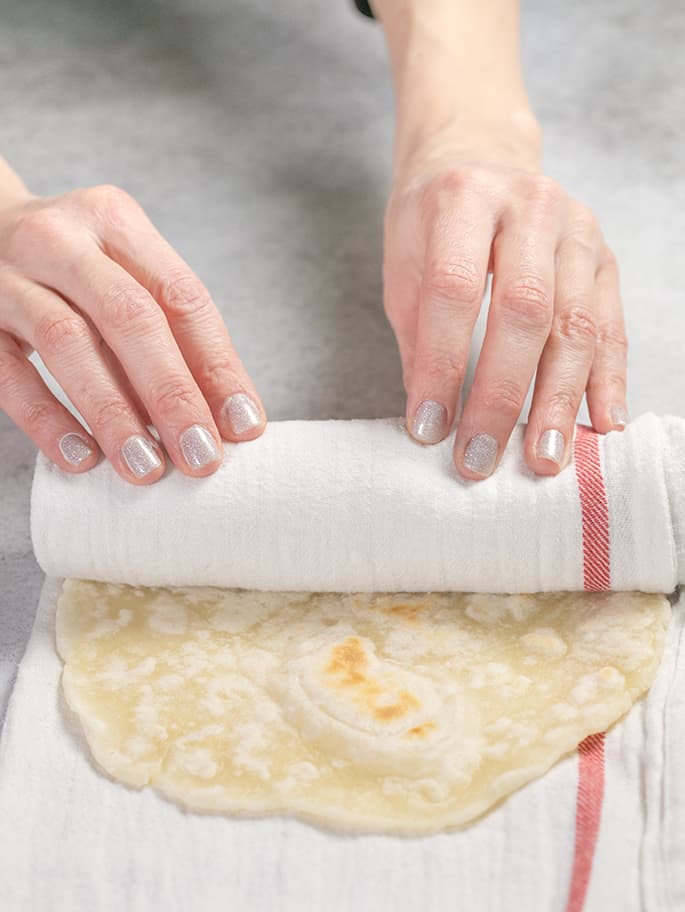
Have you ever made a rolled cake, like a yule log, gluten free pumpkin roll, or a Swiss roll? The way you achieve that rolled cake without its cracking is by baking it into a thin layer, then rolling it into a coil the moment it comes out of the oven.
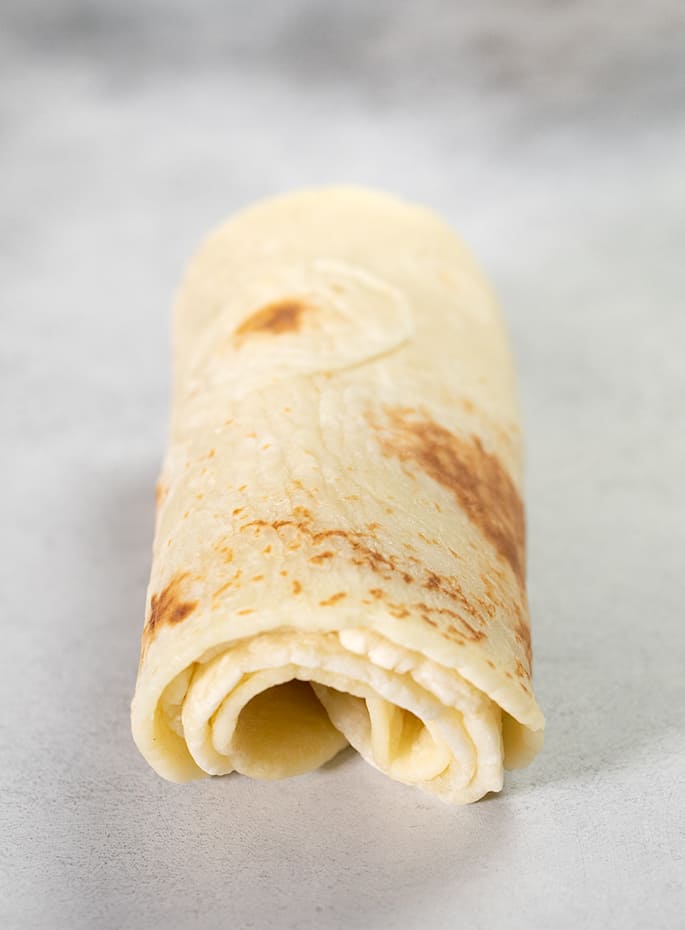
Rolling warm baked goods while they’re still warm creates a “memory”. This way, when the flatbread cools, it will remember how to bend without breaking.
You do not have to roll these flatbreads as described in the recipe. You can simply stack them like we do with gluten free tortillas. If you’d like to ensure that you can roll them tightly after they are completely cool, try rolling them right out of the skillet.
Ingredient substitution suggestions
The only additional common allergen that might arise here is dairy, and it’s easily replaced. This recipe has no eggs, naturally.
Gluten free dairy free flatbread/piadina
In place of cow’s milk, you can use any sort of unsweetened plant-based milk. I prefer something with some fat, like plain unsweetened almond milk.
You can actually even use water in place of milk, but it’s makes a somewhat tougher flatbread. This flatbread is perfect soft without additional dairy, like the yogurt in our gluten free naan.
Tapioca starch/flour
You must use tapioca starch/flour in this recipe, as a separate ingredient. This is in addition to one of my recommended all purpose gluten free flour blends.
There is no substitute for tapioca starch/flour (it’s interchangeably called tapioca starch and tapioca flour). It adds pliability to the raw dough and the finished flatbreads.
Expandex modified tapioca starch, which we use in gluten free bread flour, isn’t an appropriate substitute for tapioca starch/flour. They are entirely different ingredients, and behave very differently.
Serving suggestions
This flatbread is one of the most useful gluten free bread recipes on the whole blog. Here are some suggested ways to use it, but the sky’s the limit:
- Use this as a wrap to make a sandwich filled with lunch meat, lettuce, and tomato slices.
- Don’t roll out the cooked flatbread, and instead top it as you would a mini gluten free pizza with sauce and cheese. Melt the cheese in the microwave, in the skillet with a cover on top to trap the heat, or in a large toaster oven or low conventional oven at 350°F for 5 minutes.
- Fill your flatbread with beans, ground beef, and cheese and wrap it up like you would a burrito, placing the filling in the center, closing the sides around the filling and then rolling into a cylinder. Cook it in a hot skillet, seam side down, until the cheese is melted.
Storage & refreshing instructions
Wrap them tightly in plastic wrap or Glad Press ‘n’ Seal, and these flatbreads will stay pretty fresh for 2 days at room temperature.
To refresh, unwrap and sprinkle it lightly with lukewarm water, unroll if it had been coiled, and microwave for about 20 seconds. You can also refresh it by unrolling it and pressing it flat on a hot skillet for 10 seconds.
For longer storage
These tend to dry out quickly, even when wrapped, if you store them in the refrigerator. Instead, wrap them tightly in freezer-safe wrap and freeze for up to 3 months. Allow to defrost at room temperature or in the microwave, and then follow the instructions above to refresh.
FAQs
Typically, yes, flatbread is made with wheat flour, which contains gluten. Only flatbread that is made with safely gluten free ingredients according to a gluten free recipe will be gluten free.
This flatbread recipe is the most versatile and basic, and can used almost anywhere a flexible, flatbread is called for. Gluten free pita is used for its pocket and has a tighter crumb; gluten free naan is a yogurt-containing Indian yeast bread, and gluten free tortillas are thinner and less bread-like.
No! If you don’t plan to roll the flatbread tightly at all, you don’t have to roll it when it’s still warm. And even if you do, just reheat cold flatbread gently and you can roll it.
Gluten Free Flatbread Recipe
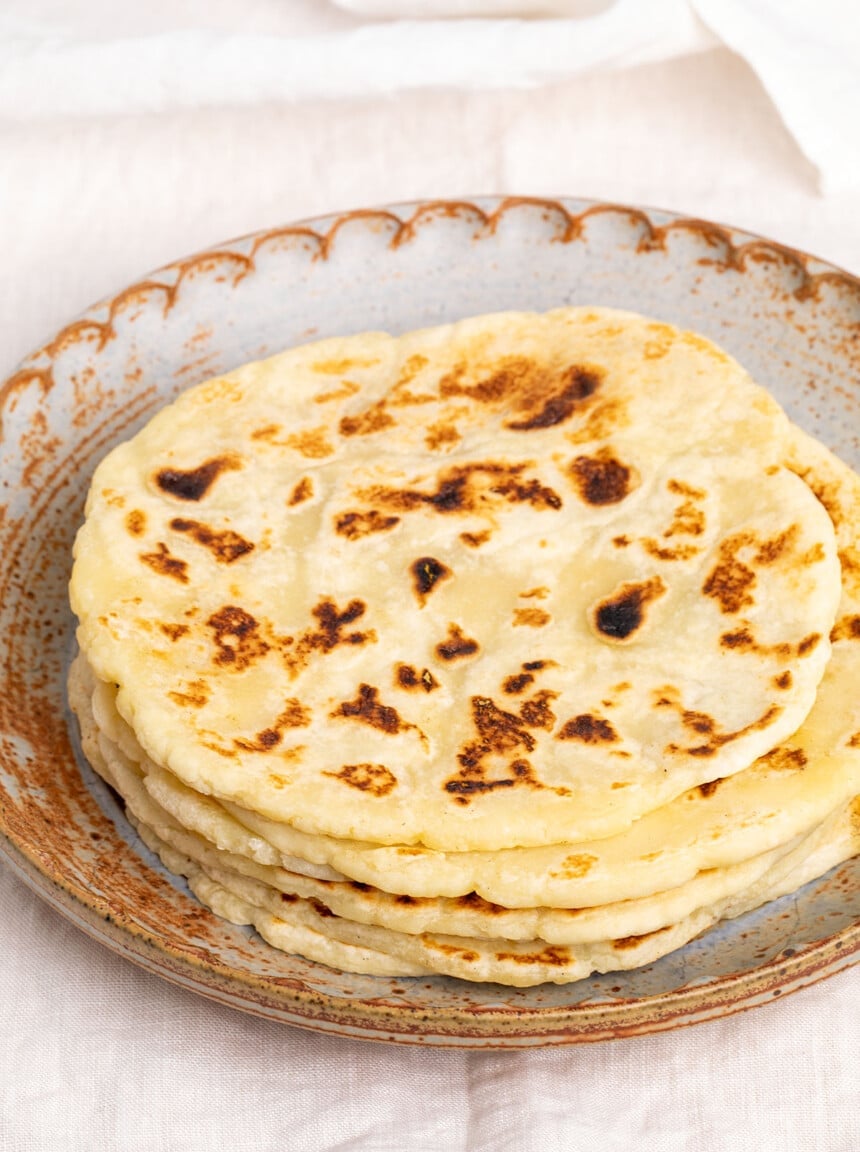
This gluten free flatbread is soft, tender, and flexible. Perfect for wraps, burritos, and miniature pizzas, and bends without breaking!
Yield: 2 flatbreads
Prevent your screen from going dark
Ingredients
- ¾ cup (105 g) all purpose gluten free flour blend (I used Better Batter; click thru for full info), plus more for sprinkling
- ½ teaspoon xanthan gum omit if your blend already contains it
- 5 tablespoons (38 g) tapioca starch/flour (See Recipe Notes)
- ¾ teaspoon kosher salt
- ½ teaspoon baking powder
- 1 tablespoon (14 g) extra virgin olive oil
- ½ cup (4 fluid ounces) plain unsweetened plant-based (for vegan) milk or cow’s milk, chilled
- Neutral oil for the skillet like grapeseed, canola, or vegetable
Instructions
Make the dough
-
In a large bowl, place the flour, xanthan gum, tapioca starch/flour, salt, and baking powder, and whisk to combine well.
-
Add the oil and milk, and mix to combine. The mixture will seem very wet at first, but the flour will begin to absorb the liquid quickly and the dough will become stiffer.
-
If necessary to bring the dough together, knead together with clean hands. It will be thick but relatively soft.
-
Ideally, divide the dough into 5 ounce portions (as written, the dough makes 2 portions), wrap each tightly in plastic wrap, and chill for 30 minutes and up to 3 days. You can also work with the dough immediately, if you don’t have time to chill it.
Shape and cook the bread
-
Heat a cast iron skillet that’s at least 10-inches in diameter, or a heavy-bottom nonstick skillet, over medium heat. Place a flat, wide spatula and a tea towel on the counter next to the skillet.
-
If you’ve chilled the dough in portions, unwrap and work with one piece at a time. If the dough hasn’t been divided, divide it in two equal halves, each weighing about 5 ounces.
-
Turn each piece of dough out onto a very lightly floured flat surface, and sprinkle lightly with extra flour. Cover the other piece(s) of dough loosely with a cloth to prevent it (them) from drying out.
-
Sprinkle the dough lightly with more flour and begin to roll it into a round, sprinkling lightly with more flour as necessary to prevent sticking. The edges will be jagged and a bit rough.
-
Gather the dough together and repeat the process at least once more, until the dough is smoother. Roll the dough into an approximately 8-inch round, turning and flouring lightly as necessary. The edges should be less rough, but this is rustic flatbread.
-
Brush about 1 teaspoon of neutral oil on the hot skillet. Pick up the prepared raw piece of flatbread and place it flat in the center of the skillet, taking care not to bend any of the edges.
-
Allow it to cook for about 1 minute without disturbing it, or until the edges begin to lift. Slide the spatula underneath the flatbread, ensuring that there are no spots that are sticking.
-
Flip the flatbread over and allow it to cook for another minute, pressing it firmly back onto the skillet with the spatula to prevent it from puffing up. You can also take a toothpick and prick any bubbles to deflate them.
-
Continue to cook the flatbread, flipping it frequently, until it is set on both sides and doesn’t glisten anywhere. It should take 2 to 3 minutes total.
-
Remove the flatbread from the skillet, place it in the center of the tea towel, and fold the edges of the towel over on it to enclose it and keep it warm.
-
Repeat with the other piece of dough, oiling the skillet lightly as necessary. You can serve the flatbread warm right away.
To roll the flatbread
-
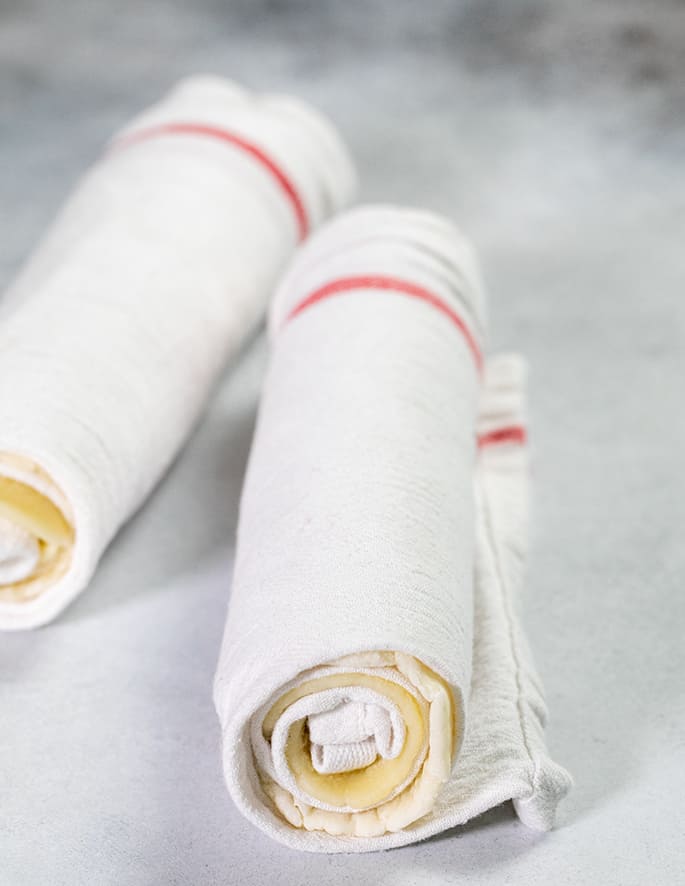
If you’d like to roll them in a coil while they are still very warm, open the tea towel and remove both pieces of bread. Place one about 4 inches from one short end of the towel, fold the edge over the bread, and roll the bread tightly in the towel.
-
Place the second flatbread on the unrolled portion of the towel, and repeat the process, rolling until the two flatbreads are tightly wrapped in the towel. Allow them to cool for at least 5 minutes wrapped in the towel before unwrapping and serving.
Notes
You must use tapioca starch (or flour, they’re the same thing) in this recipe in addition to a proper all purpose gluten free flour blend. You cannot use Expandex modified tapioca starch. They’re completely different ingredients.
Rolling in a tea towel.
You absolutely do not have to roll the warm flatbreads in a tea towel. This is designed to create a “memory” in the dough for rolling, so that they will bend perfectly even as they cool. They are very flexible when warm, whether you’ve rolled them in a coil or not.
Adapted from Curious Cuisiniere.
Nutrition information is approximate and should not be relied on.
Nutrition
Serving: 1flatbread | Calories: 328kcal | Carbohydrates: 60g | Protein: 2g | Fat: 8g | Saturated Fat: 1g | Polyunsaturated Fat: 1g | Monounsaturated Fat: 5g | Sodium: 1109mg | Potassium: 7mg | Fiber: 3g | Sugar: 0.1g | Calcium: 134mg | Iron: 0.4mg

Thanks for stopping by!
Hi, I’m Nicole. I create gluten free recipes that really work and taste as good as you remember. No more making separate meals when someone is GF, or buying packaged foods that aren’t good enough to justify the price. At Gluten Free on a Shoestring, “good, for gluten free” just isn’t good enough! Come visit my bio!
